Posted by: Alison O'Connor, Larimer County Extension
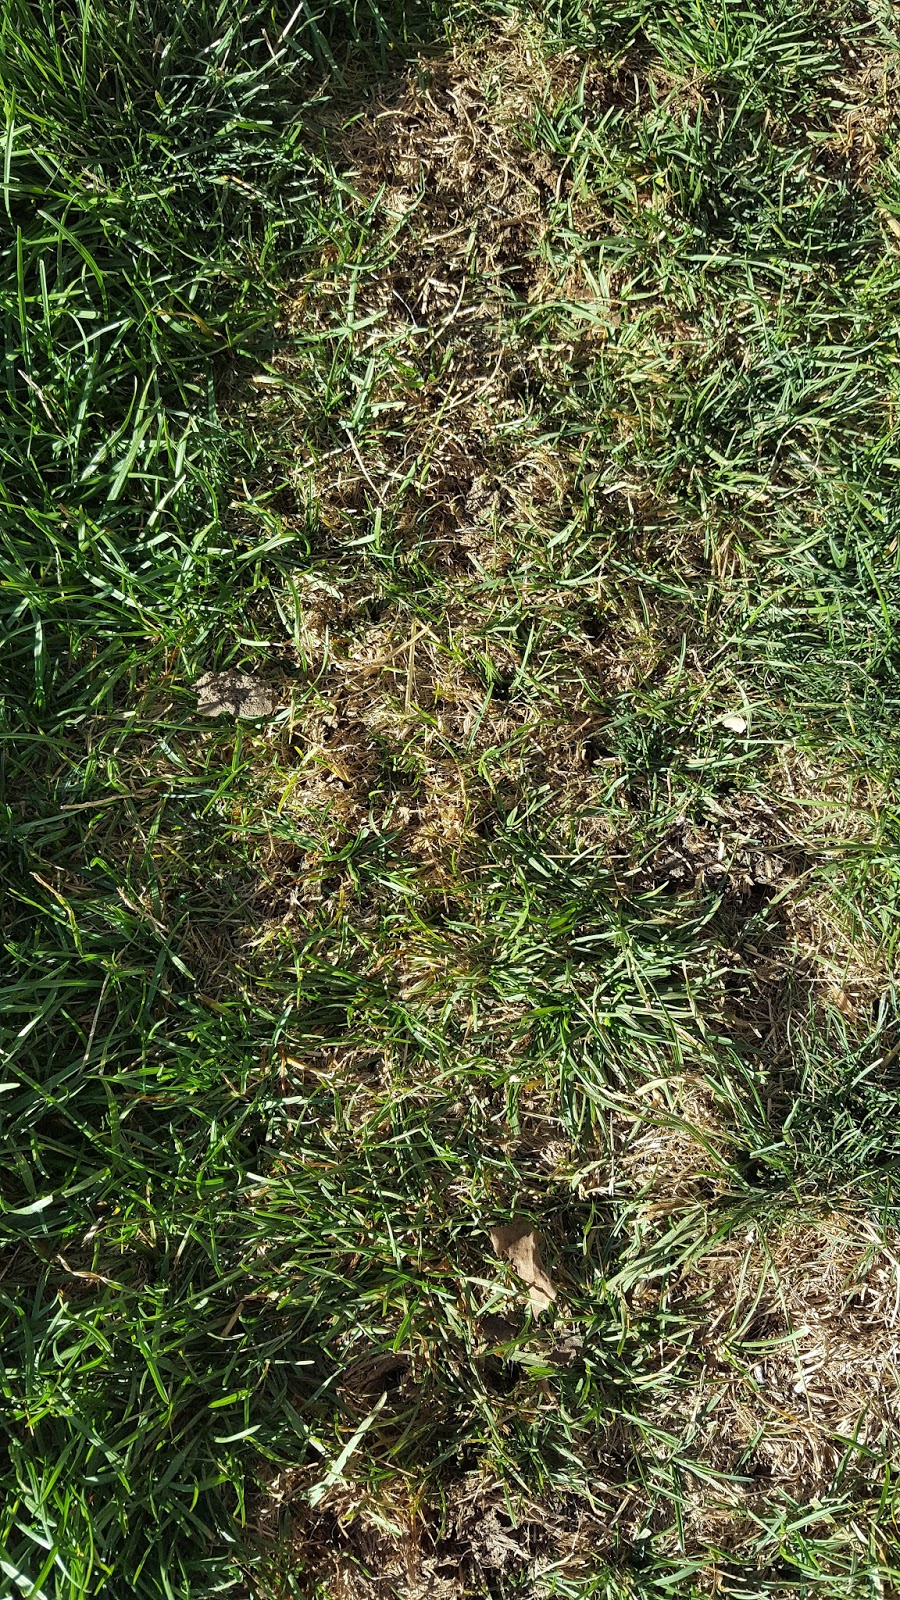
It was a hot, dry summer. And if you had any irrigation issues in your lawn, you've probably got some bare spots. Or spots from foot traffic, rabbit feeding, urine injury, etc. In my lawn, it's from beagle traffic.
 |
| "Who me?" says Maple the beagle. You can see her footpath past the chicken coop and to the bird feeder, where she (and Hazel, back of photo) love to munch on black oiler sunflower seeds. Sigh. |
Fall is a great time to seed these spots for a couple of reasons. First, the weather is pretty much perfect: warm days, cool nights and the possibility of rain. Second, the soil is warm and will stay warm through October (this, of course, will vary where you are in Colorado...and the U.S.). But grass seed, like humans, prefers moderate temperatures in the 70s. Because the soils are warm, the seed will germinate very quickly...great for those of us who have little patience.
Depending on the size of the area you need to reseed, you can approach it a couple ways. The main points of overseeding are to make holes in the ground and get the seed into those holes. Seed needs contact with soil to germinate (that's why topdressing with seed on the soil surface is rarely successful...plus the seed can dry out). You can make holes in a number of ways--rent an aerator or have aeration done for you...or do it manually with tools you have in the garage.
The goal is the same for both methods--lots and lots and lots and LOTS of holes. You can't make too many holes. We recommend making "Swiss cheese" out of the lawn. If you use an aerification machine, mark your sprinkler heads to avoid damage. If you're paying someone to do it for you, emphasize that you want a lot of holes! Request they make holes in multiple directions across the area that needs to be seeded.
Below are photos of "manual" overseeding with a pitchfork...it's a great workout!
Step 1. Collect your tools and equipment: Seed, water (hose or sprinkler), pitchfork and leaf rake.
 |
| Like my dad always says, make sure you have everything on hand before starting a project... |
Step 2. Make your holes. Lots and lots and lots and LOTS of holes. Try to get the holes at least an inch deep. This area was heavily compacted from beagle traffic. It's kind of a fun stress relief, but it does take some effort. The better job you do making holes, the better results you'll have. So take your time and do a thorough job.
 |
| Poke yer holes! Lots and lots and lots of holes! |
Step 3. Admire your work. You should see your holes and roughed up the bare spots. The goal is to get holes on a maximum of 2" centers in all directions....the closer the holes are, the better!
 |
| If you look really closely, you can see the holes. |
Step 4. Seed selection is important. It's best to seed what you already have planted. In my backyard, I have a mixture of mostly bluegrass with some tall fescue and perennial ryegrass. This seed mix I'm using has all three. Likely what will survive is the bluegrass (it has amazing traffic tolerance). If you're using one species, aim for 3-5 pounds of bluegrass/1000 square feet; 6-8 pounds of perennial ryegrass/1000 square feet and 6-8 pounds of tall fescue/1000 square feet. Seed quality is also important--it's not more expensive to buy good seed. Look at the label of your seed to make sure you don't plant weeds or undesirable grass species.
 |
My seed mix...it's about 50% tall fescue and 35% perennial ryegrass and bluegrass. Works for me!
|
 |
| The seed itself! |
Step 5. Lightly, like you are adding salt to your food, sprinkle the seed on top of the area where you just made holes. If you put out too much seed, the seedlings will all compete with each other and never mature. Juvenile seedlings will be wimpy and likely die over winter. Just like with pesticides, more (seed) is NOT better!
 |
| Lightly sprinkle the seed over the area. |
Step 6. After seeding, use a leaf rake to work the seed into the holes. This is a gentle process. You're just lightly pressing the rake to the ground. The seed that works into the holes will germinate best. You do not need to "topdress" with any sand, soil or peat moss. Really, I promise! Just work the seed into the holes.
 |
| Hazel is thinking "But you're in my way of walking to the bird feeder!" Use a leaf rake to gently work the seed into the aeration holes. |
Step 7. Water in the seed. Depending on the daytime temperature, you may have to water a few times a week, but only just to keep things moist. Seed will need water to germinate, so don't skip this step. If you still have your sprinkler system running, that will likely be sufficient. But check these areas for dryness.
 |
| For bigger areas, put out a sprinkler attached to your hose. You can even set a timer to have it automatically water a few minutes each day. |
Perennial ryegrass will germinate in just a few days...bluegrass will take about 10 days. Maintain your lawn as normal--there's no need to avoid the seeded areas with your mower. And go ahead and apply your fall fertilizer--just avoid using any herbicides near your seeded spots. In a few weeks, you can admire your new turf...from your couch as you watch football. Check it off your list--one more fall garden task complete!


excellent blog Overseeding Bare Spots in the Lawn,thanks for sharing.
ReplyDeleteCommodity Gold Jackpot Call
the lawn with a small pond and waterfall, three river birches, and lots of perennials. No more grass. lawn mower fixing
ReplyDelete