CO-Horts

CO-Horts Blog

Showing posts with label cover crops. Show all posts

Monday, May 8, 2023

From Dirt to Soil

 If you're ever in a room of soil scientists, I would recommend that you think twice before using the word "dirt". Dirt and soil are not the same thing (i.e., dirt is devoid of any life, while soil is teeming with life), and some people will get quite upset if you interchange the two words (for the record, I am not one of these people). Case in point: I happened to meet someone who had gone on a first date with one of my colleagues. He told me that the date was going well, but as soon as he used the word "dirt", my colleague's mood completely changed, the date quickly came to an end, and he never heard from my colleague again. So, if you want to make it to a second date with a soil scientist, make sure you're using the word "dirt" correctly...or maybe just don't use that word at all.
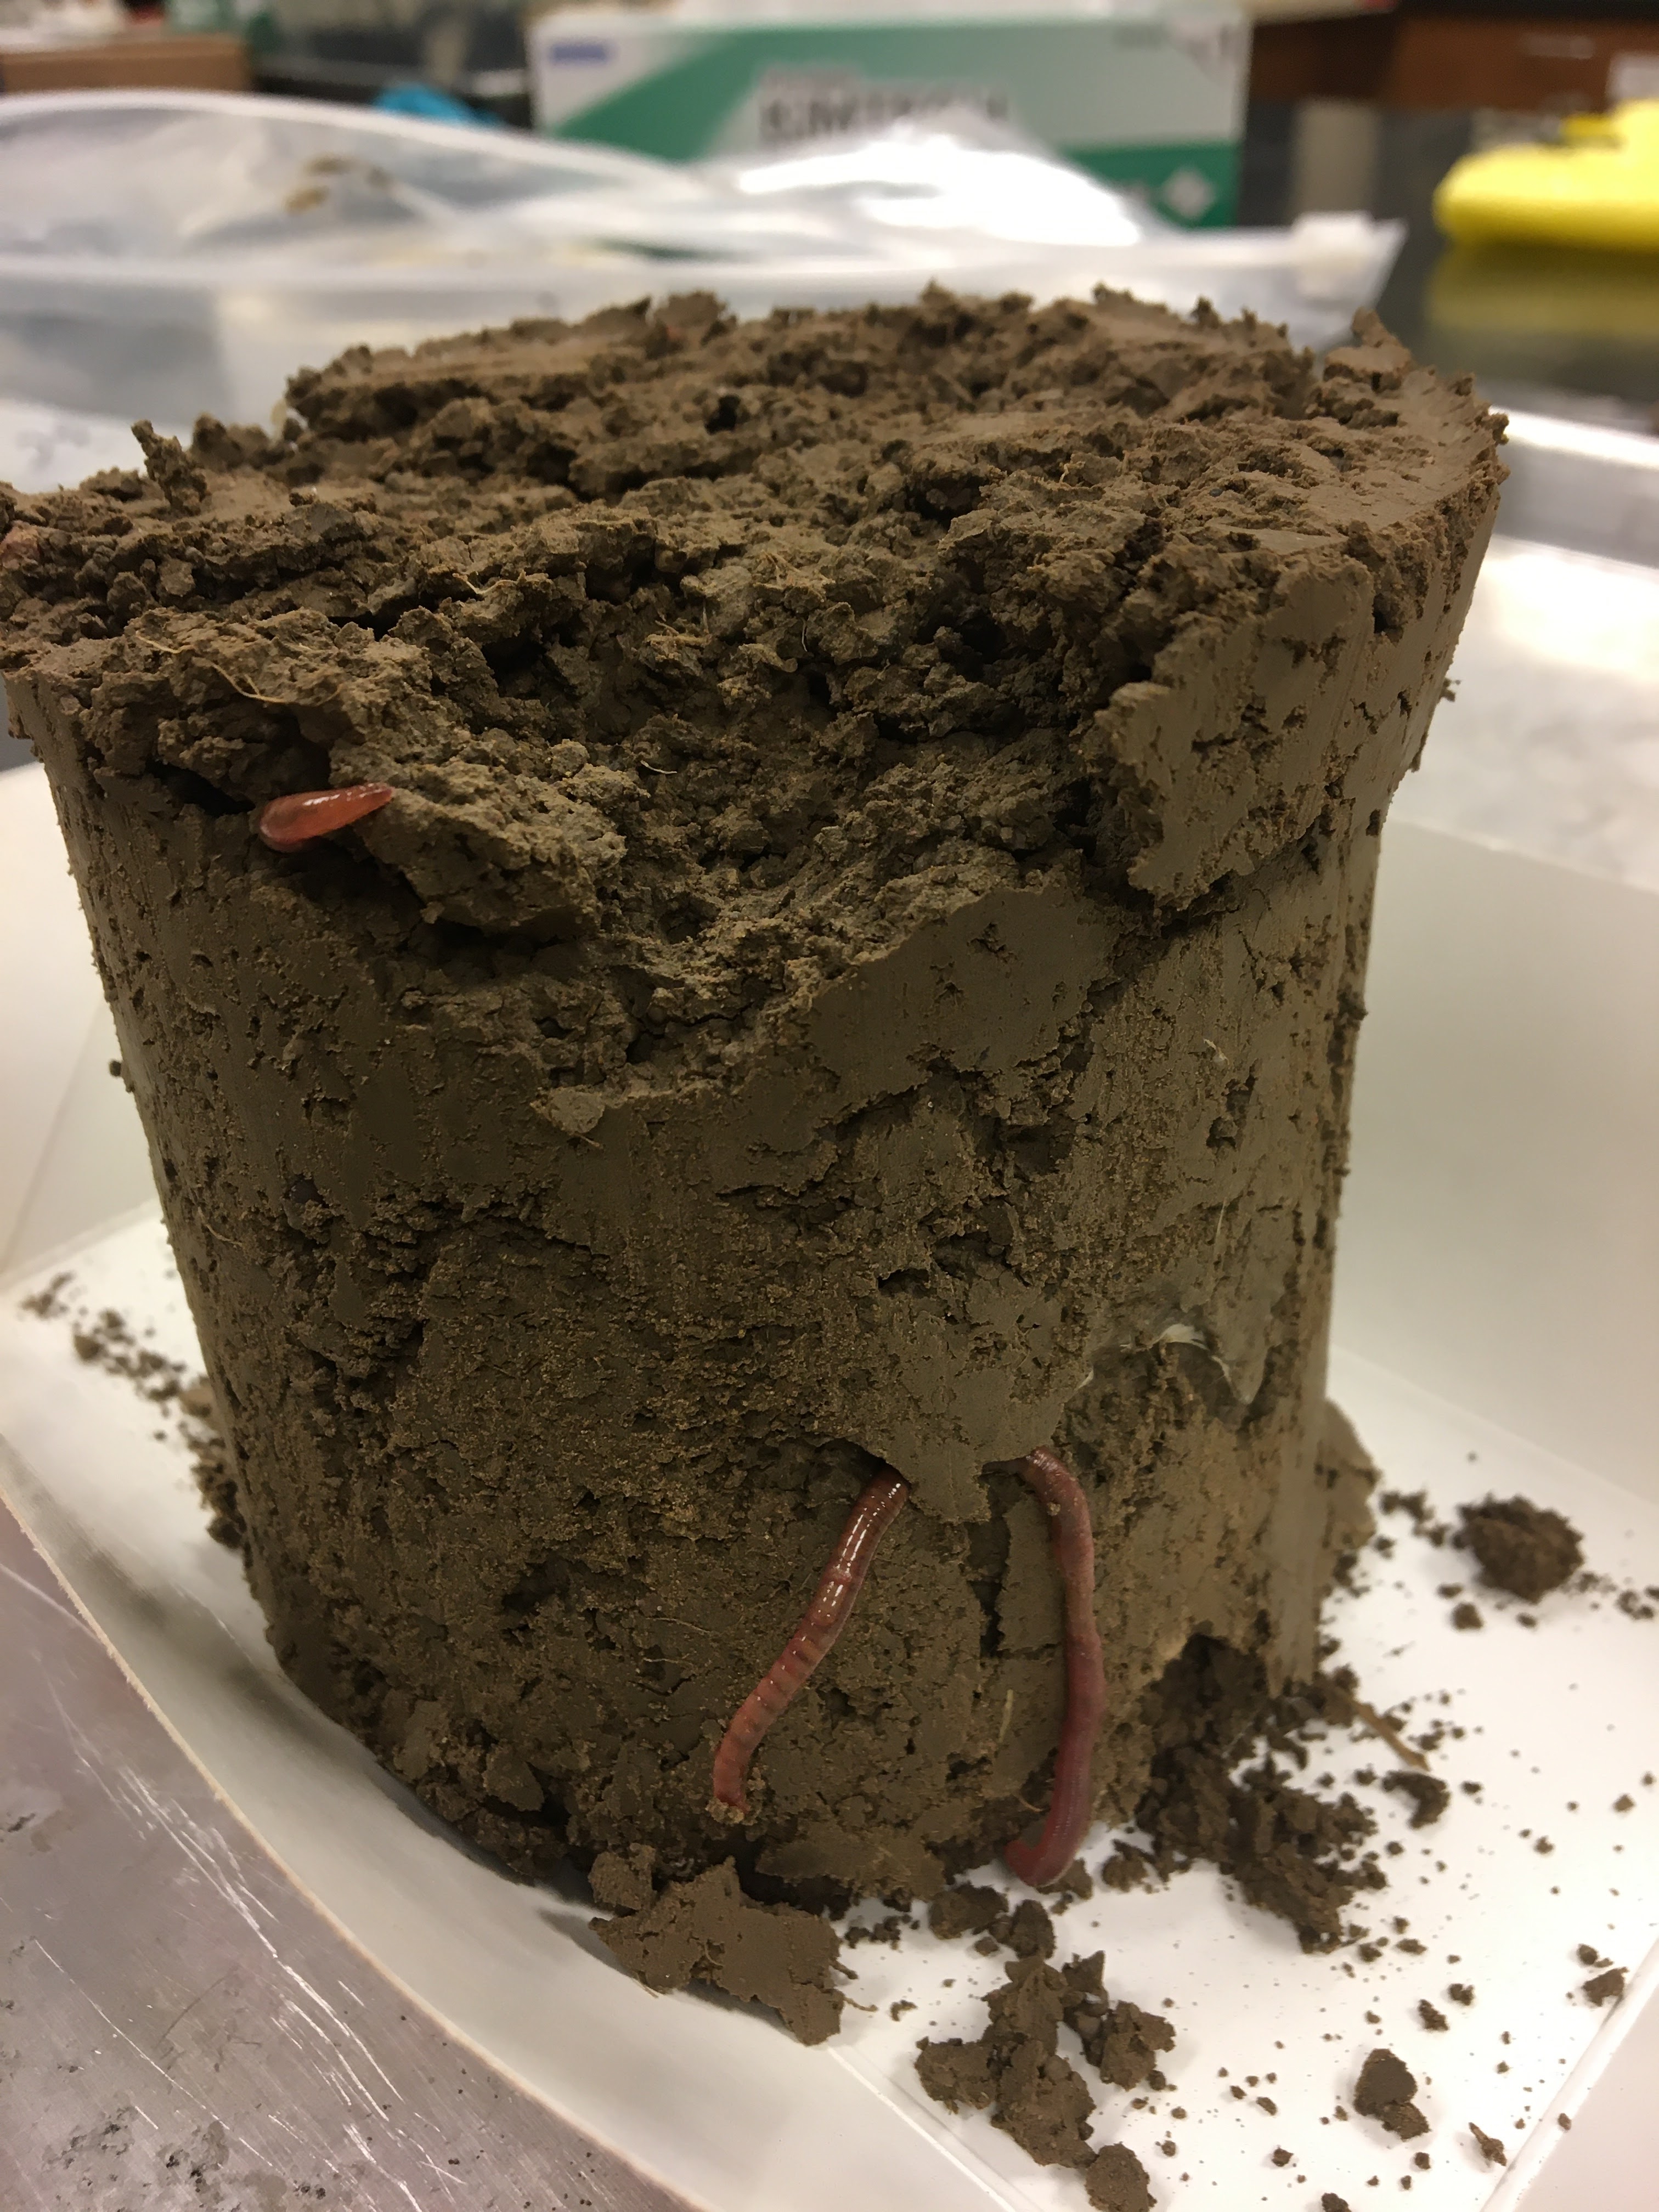
Anyways, perhaps you have a garden that is, quite literally, made of crummy, old dirt. Or, more likely, it's made of poor quality soil. Do you abandon all hope in having a healthy and fruitful garden? Do you scrap your life here and move to the Midwest in pursuit of more fertile soil??? No! There is another way to attain a thriving, productive garden, and that is through the regeneration of your soil. 

Soils can generally be characterized by two things: soil texture and soil structure. Soil texture refers to the proportion of sand, silt, and clay within a soil. This proportion governs the characteristics of a soil, such as its nutrient-holding capacity, drainage rates, and affinity for compaction. I'm sure many of you will resonate with the challenges of highly clayey soils, which are prone to slow water drainage, limited oxygen availability, and compaction.

Unfortunately, there is no practical way to change a soil's texture at scale. The good news, however, is that a soil's innate behaviors can be adjusted by altering the soil structure, which refers to the arrangement of soil particles. Specifically, you want to promote the arrangement of your soil particles into aggregates.

Basically, aggregates are clumps of soil particles that are bound together by organic matter, fungal hyphae, and roots. Not only do they increase the resiliency of soils to disturbance and create microhabitats that support diverse microbial life, but they also help increase water-holding capacity in sandy soils (organic matter acts like a sponge) and increase water/air infiltration in clayey soils (by increasing pore space). 

Conceptual Diagram of a Macroaggregate; Source: Soil Processes and the Carbon Cycle by Jastrow and Miller, 1998.

To increase aggregation in your garden, and thus improve your soil structure, there are several tactics you can take:
  1. Incorporate organic matter into your soils using amendments such as manure, biosolids, plant-based compost, and/or coconut coir. The goal is to reach a soil organic matter content of 5% in your soils (contrary to popular belief, you don't want more than 5%). Take caution if applying organic matter amendments that are high in salts, such as manure and biosolids, as high salts can damage plants and soil structure. Before applying any organic matter amendment, it's best to do a soil test on your garden soils to understand the current levels of organic matter and salts present, which will inform how much amendment to apply.
  2. Grow cover crops when soils are bare (e.g., during the off-season). Cover crops will add organic matter into the soil through their roots, and they can be an additional source of organic matter if the cover crops, upon dying, are left on the ground or incorporated into the soil. Cover crops will also protect the soil from erosion and can add nitrogen into the soil if the cover crop is a legume.
  3. Mulch around your plants. Mulch will conserve soil moisture, help control weeds, and ultimately add organic matter into the soil as the mulch breaks down over time. Organic sources of mulch include wood chips, straw, or grass clippings. If using straw or grass clippings, take into consideration whether any herbicides have been used or if weed seeds might be present.
  4. Reduce disturbance of your soils. While some disturbance may be necessary when incorporating organic matter amendments, frequent or intense disturbances can ultimately degrade soil structure. As a result, consider using less invasive ways of amending (i.e., a broad fork instead of rototilling) and avoid tilling unless you're adding organic matter.
Whether you attempt one of these tactics or all four, remember that it takes time for soil structure to improve. Be patient and diligent in your commitment to regenerating your soils, and over the years you will reap the benefits! 

Have questions about soil regeneration? Ask them below!


Monday, November 16, 2020

8 Ways Cover Crops Can Improve Your Garden

Patti O’Neal

Jefferson County Horticulture and Urban Food Systems

Cover cropping, a strategy also known as green manure, has been practiced by gardeners and farmers the world over for over 10,000 years. This organic restoration practice can boost your garden noticeably the very first year you incorporate it into your own best management practices and the improvements increase even more each year as their effects accumulate. These crops are easy to use, do not need much care beyond watering and a mowing or two and provide tremendous advantages to the garden and gardener.


Cover crops are plants that are considered soil builders. Here are 8 sometimes overlooked ways that cover crops build the soil productivity in your garden:

·       Provides Beneficial insect habitat – pollinators, honeybees, beneficial predator insects will all enjoy the nectar as well as the shelter these crops can provide at every season you use them. 

·       Smothers weeds and suppresses their seed from germinating as well.  They provide a dense mat to keep the light from reaching the seeds.

·       Better, more complete soil tillage than any mechanical method.  These crops improve soil structure, allowing more air and water penetration. They can break up soil compaction, loosen tight, hard, or heavy soils and create good tilth.

·       Provides shade for the soil for cooler root temperatures, less moisture losses during hot weather.

·       Acts as a living mulch when established between vegetable rows. 

·       Increases organic matter in the soil while feeding the microbes, beneficial bacteria, fungi, and earthworms living in the soil.

·       Conserves soil moisture both at the surface of the soil and in the critical root zone. The extensive root systems conserve soil by reducing erosion from rain by slowing water flow across and through the soil. The living foliage can also buffer wind effects.

·       Fixes nitrogen from the air while recycling nutrients, preventing their run-off and leaching from the root zone, simultaneously bringing up deeper nutrients to plant roots that are usually unavailable.

Use seasonally appropriate cover crops.  Legumes, vetches, rye, and buckwheat are all excellent cover crop plants.  Like all plants, each cover crop germinates and flourishes best in certain seasons. Most reputable seed companies will sell individual crop packets or recommended mixes appropriate for specific season plantings.  Some cover crop seeds are available locally, but seed catalogues have the widest range and generally provide good advice and instruction on using them. 


                        Buckwheat flowering in  Betty Cahill's raised beds

If you are letting a bed or area of your garden go fallow for a season, this thousands year old practice of planting a cover crop can help to replenish the biological community of your soil below while providing nectar as well as shelter for pollinators and beneficials above. Here are a couple of tips to help you be the most successful with a green manure crop.   

·       Allow your crop to flower but watch carefully and do not let it go to seed or you will be battling weeds of a different sort in the months to come. 

Flowering red clover

·       If you plant early enough in the season you can get one or maybe even two mowing’s in (If you garden in raised beds, a weed whacker works great for this) forcing the root material into overdrive to produce another above ground crop.  This action forces the root system further into the soil to depositing additional nutrients while continuing to improve tilth, bringing formerly unavailable nutrients up to the plant root zone. 

After your final mowing, fork the remainder of the material under so the microbes and arthropods you have encouraged can break it all down completely to become plant available nutrients.  Be sure and do this at least a month to six weeks before your intended planting date for this bed.  Otherwise, the increased microbial activity will compete with the root establishment of new plants or can even disrupt germination of seeds. You do not want to spoil all the good work you have done. 

Farris helping to turn the cover crop

Friday, October 4, 2013

Cover Crops: They look cool and serve a purpose


Posted by: Alison O’Connor, horticulture agent, Larimer County Extension

As the weather cools, my thoughts turn to comfort food, good books, warm fires…and cover crops?  Ok, I never really gave planting a cover crop in my garden a second thought, until my poor veggies were smushed to smithereens in August from hail.  With my garden sitting fallow and sad…and the fact that I’ve never tilled, amended or fertilized my garden…I decided to plant a cover crop. 

What’s the purpose you ask?  Well, the Colorado Master Gardener site has an excellent publication that will answer your questions.  But essentially, I did it out of sheer curiosity and to do a good thing for my soil and plants next year (free nitrogen from the legumes!).  Lesson learned: planting a cover crop is really easy.  Easier than growing tomatoes, that's for sure.

So here’s what I did…enjoy the photographs!

Step 1. Buy your seed.  I happened to get mine from Johnny's,
but you can buy from your favorite seed company.  I bought
a mix of clover, annual and winter ryegrass, peas, oats and vetch. I bought
about 2.5 pounds of total seed for my 400 square foot garden.
Step 2. Upon opening your seed packets, promptly spill them
on the garage floor.  ARRGHHH! 
(You're impressed that I got a photo of this, aren't you?)
Step 3. Mix all the cover crop seed together in a clean container. 
This is only necessary if you bought your seed separately and not as a "cover crop mix."
Step 4. Make sure your beagle is handy to carefully watch and keep you on track. 
(That's Willow. She's my gardening buddy and has an affinity for tomatoes. )
Step 5. I had straw on my garden to help combat weeds,
so I worked in sections to rake it back.  You'll want to make sure you don't
walk too much on the garden during the seeding process, so divide it up if possible.
Step 6. Using my favorite garden tool (I call it the "scuffle hoe"),
I roughed up the soil surface.  This is also an excellent workout. 
It's whole body--abs, arms, back and legs!  Forget the P90X...just try gardening.
You don't have to scuff much...just enough to loosen the soil.
Step 7. Spread your seed!  Toss the seed in an even coat across
the soil surface.  It's not a science--just make sure you have
enough seed for the entire garden area.
Step 8. Using a steel-tine rake, gently spread the seed evenly across
the soil surface.  This also helps ensure soil-seed contact which will help
with germination. 
[The beagle who was watching is now being watched.]
Hazel (the one standing) was a puppy mill dog and tries to "mother" Willow. 
She does this all the time to protect her.  From what you ask? 
Well, we have really friendly rabbits and lots of sparrows.  It's a jungle out there!
Step 9. Back to the cover crop!
I then re-spread my straw over the top of the seed to help with moisture retention.
If you don't have straw, leaves or grass clippings, Step 8 will be even more
important to ensure good soil-seed contact.

Step 10. Water! I watered my cover crop with a "back and forth"
sprinkler for about a week for 10-12 minutes a day.  Just enough
to keep the seed moist, but not wet.  My drip irrigation wouldn't have
worked, since you need even moisture distribution.
Step 11. Success!  Nine days later, the cover crop has germinated
and is starting to fill in.  I'll leave it until next spring when I'll till it into
the soil as a green manure.
Wait 'til next year, Willow!  We'll have the best tomatoes ever!