By Sherie Shaffer, Horticulture Agent, CSU Extension-Pueblo County
I love growing a vegetable garden. Ever since I can remember
I have grown some type of veggie garden every year. I also have hand watered
ever since I can remember.
Hand watering has its perks. Being out in the garden every
day, up close and personal with your plants allows you to see any problems that
may arise and be on top of anything that is ready to harvest right away. The
issue, for me, with hand watering, is that I just don’t have the time. For the
last couple of years, I have let my garden dry out too much and have had small
harvests because of it.
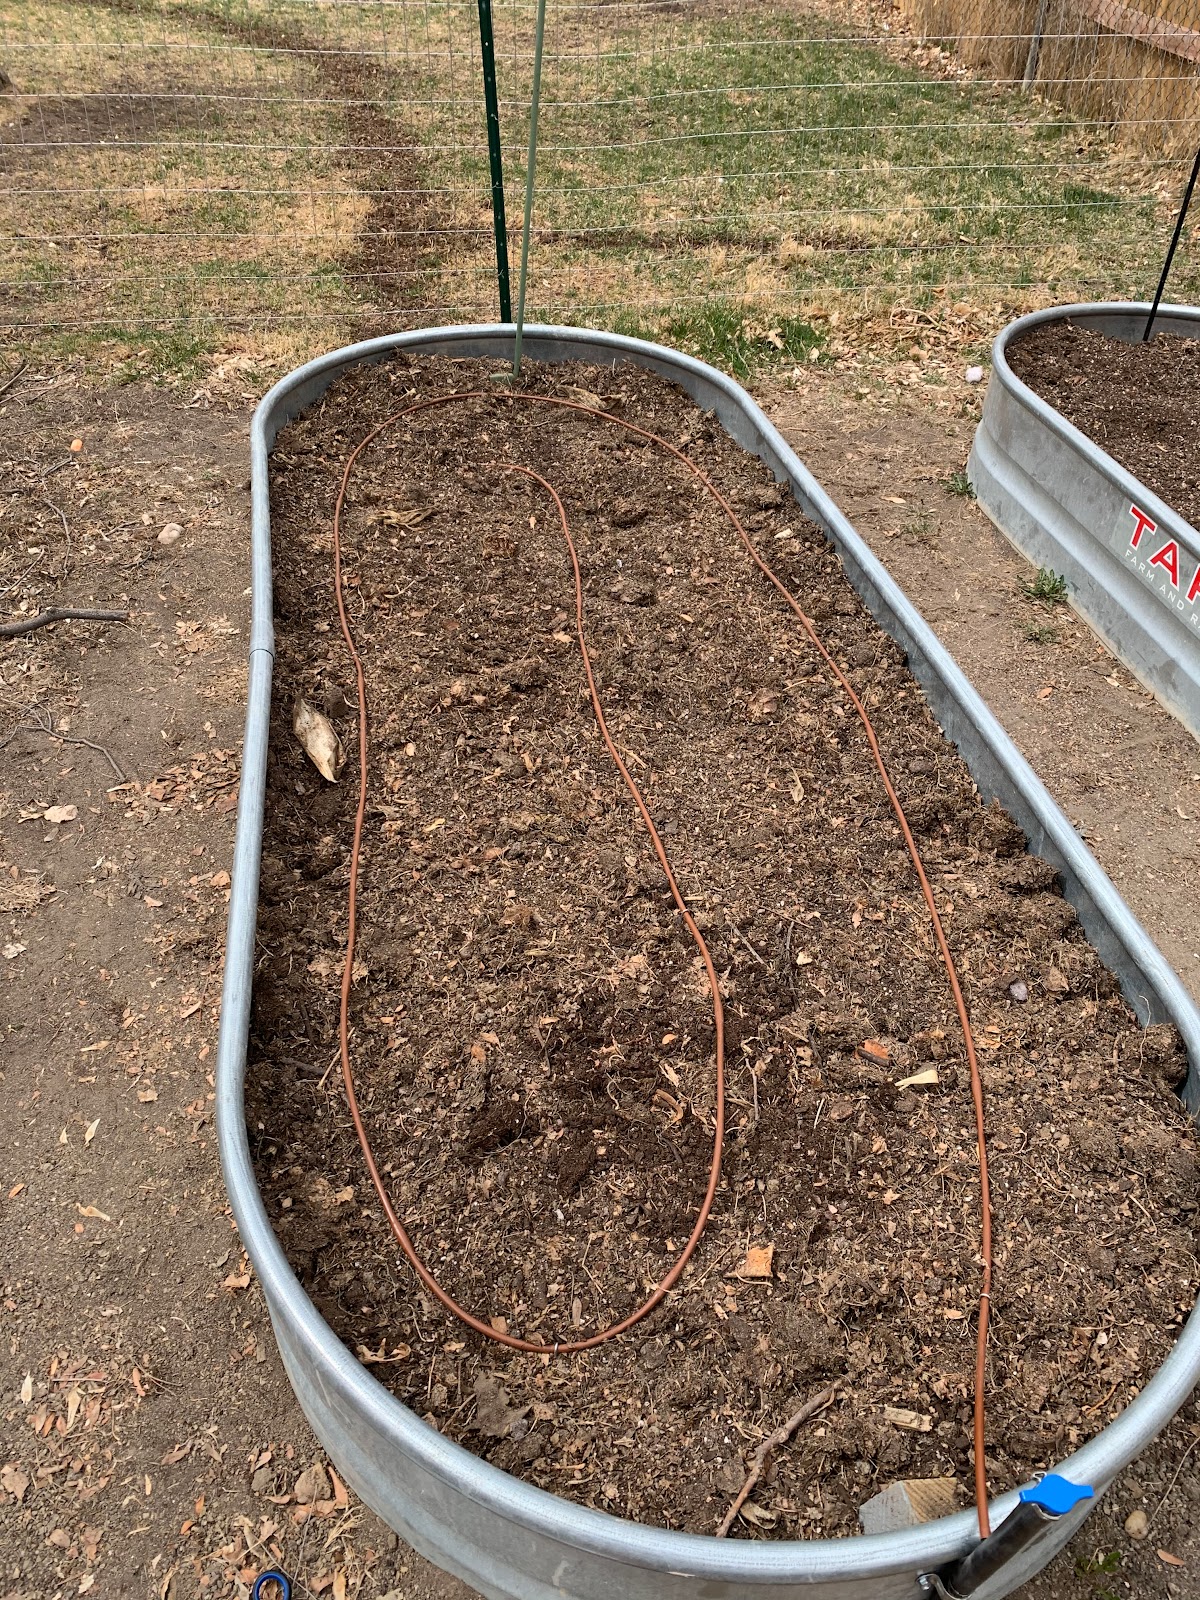
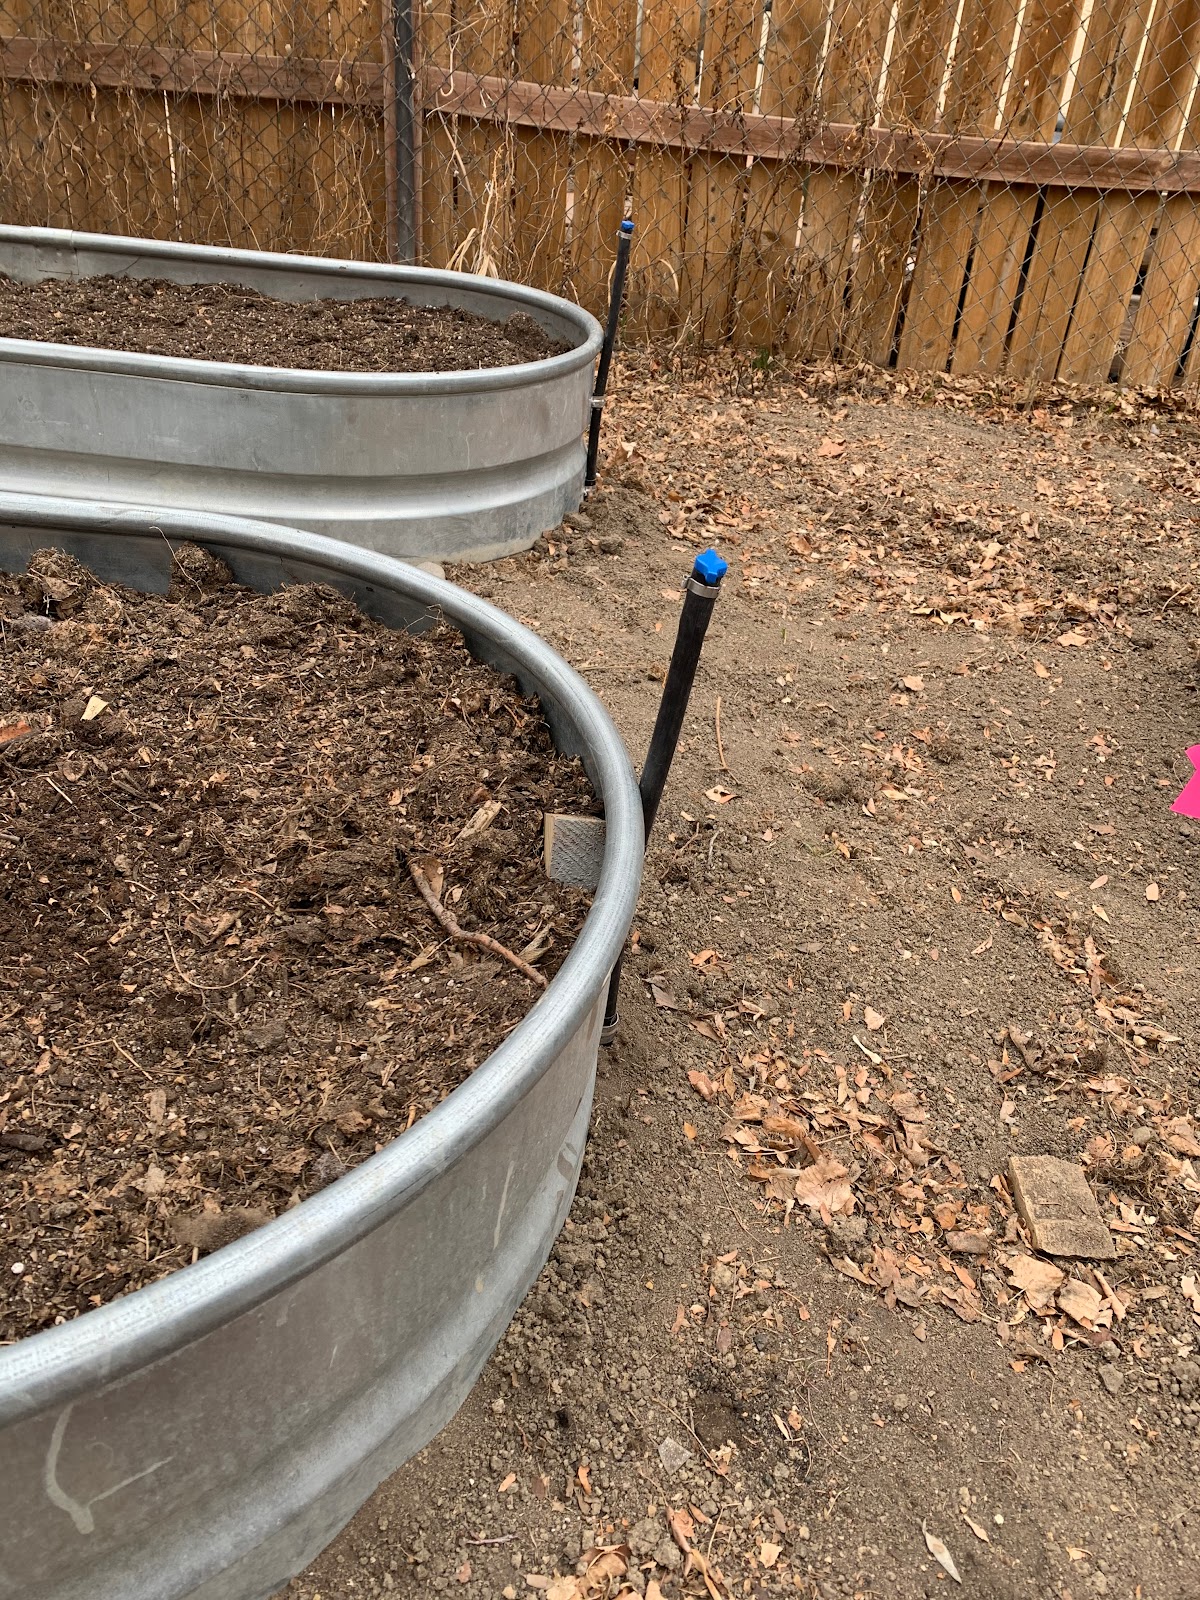 |
| My beds with the supply lines |
That’s why this year, we are going drip. Drip irrigation has
many benefits. The main one for me, is that I can turn it on and water the
garden without spending the time filling up my watering can and watering by hand.
I bought a fancy timer that I can work from my phone, so I can even turn on my
drip system from the office, or my bed, I am so excited. Drip irrigation applies
water right to the soil, where the roots are, so it is very efficient. Letting
water splash on the leaves of your plants encourages disease, another reason
drip is beneficial.
It has been a bit of an adventure getting my system set up.
I did a lot of research and had my method down, in theory, but when you get to
real life sometimes things don’t always go as planned.
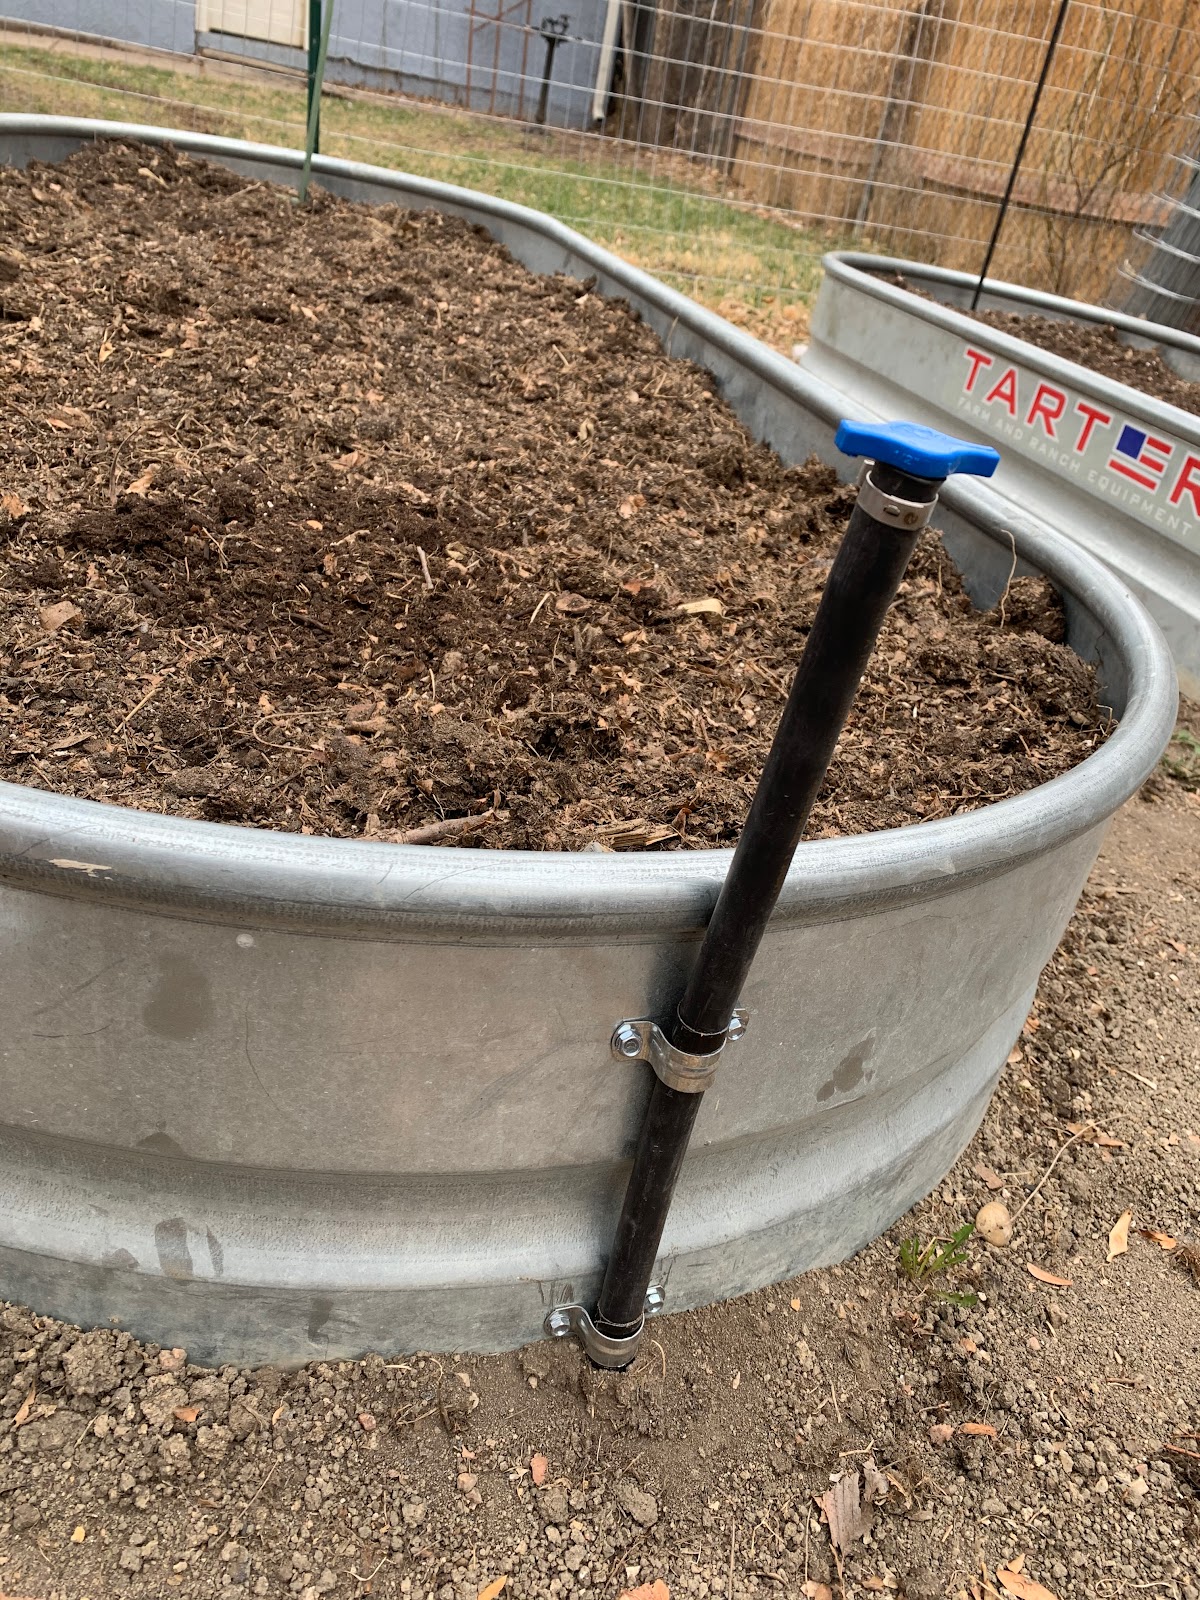
When I had my sprinkler system re-done last year, I
designated a couple of zones to use for drip systems. We had the water supply
ran to where we wanted it, and installed a filter, and pressure regulator in an
underground valve box. From there I had the water supply lines ran to my garden
beds.
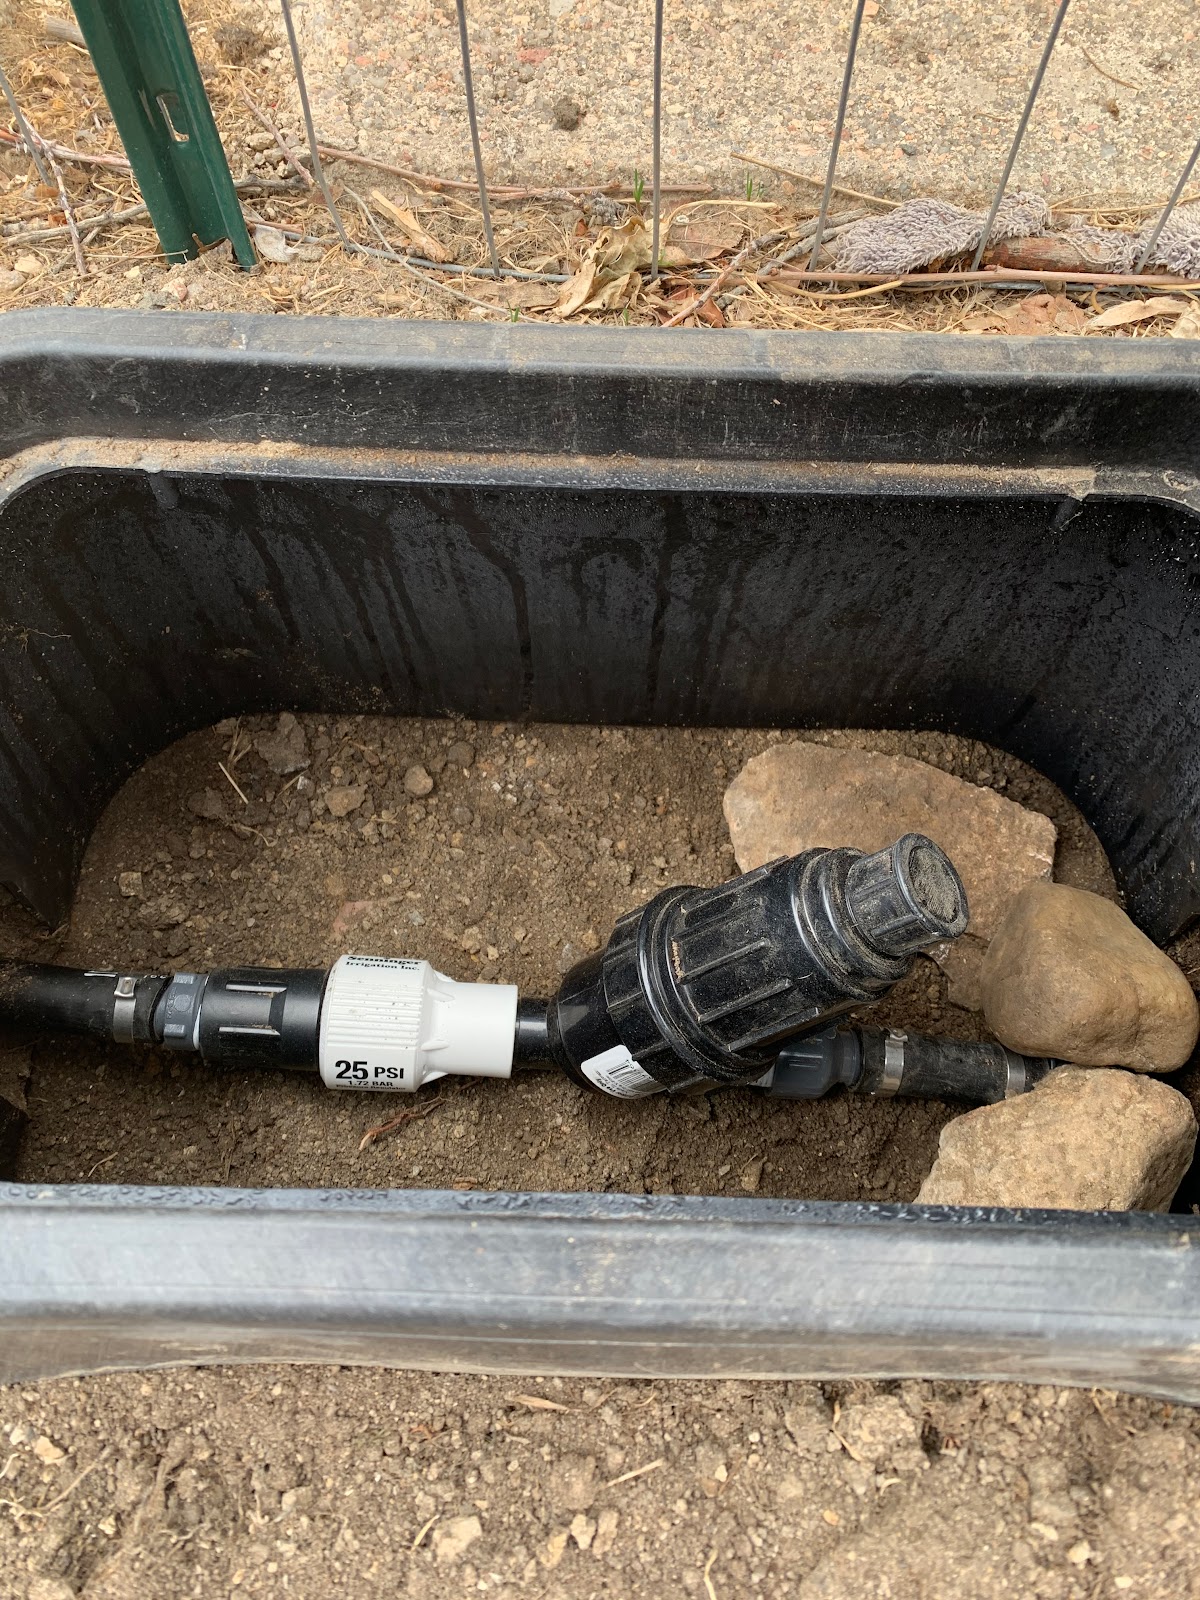 |
| The valve box with the filter and pressure regulator |
This is where I had some trial and error. At first, I used
my quarter inch hole punch to tap into the water supply lines at each bed, and
then attached drip tubing (with holes every 6 inches) using a barbed coupler. I
looped the tubing around my beds and staked them down. At the end of the
tubing, I used a barbed plug to close the system, and excitedly turned it on hoping
to see water dripping from the holes. That is not exactly what happened. Water
was barely coming out in the first bed and not at all in the second bed, and I
was sad ☹
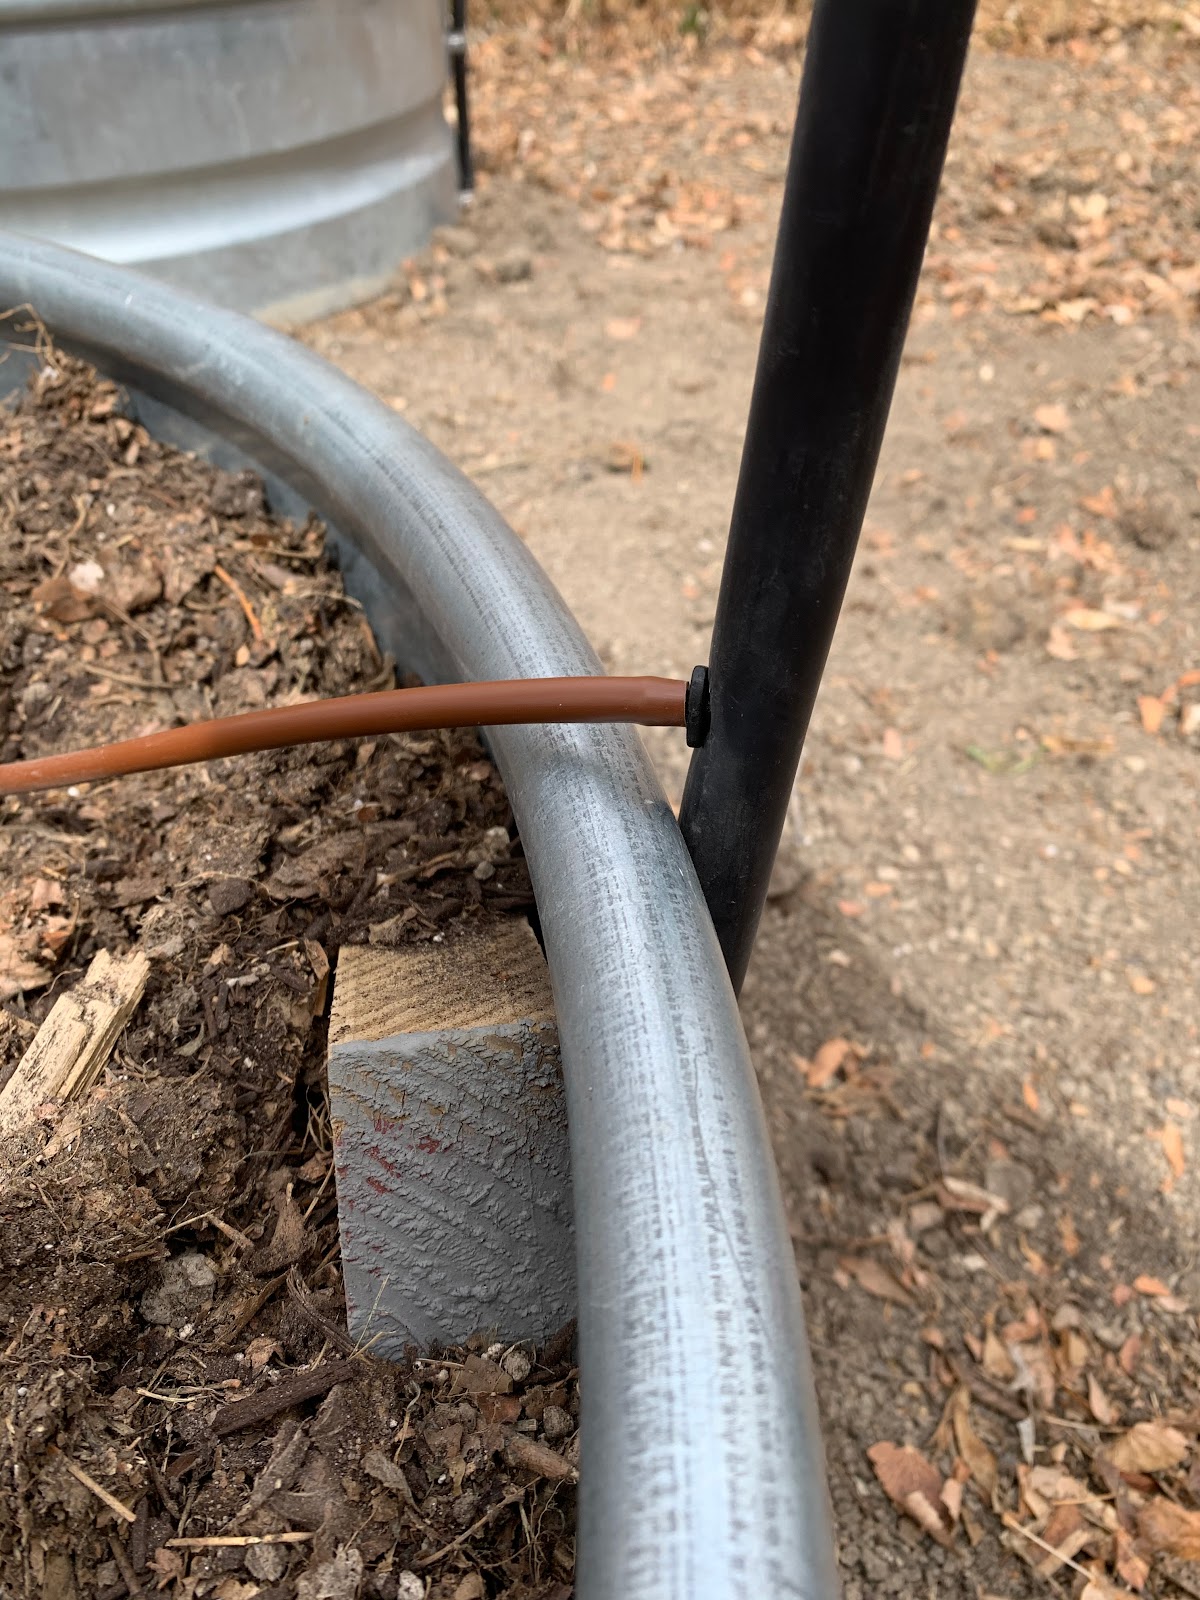 |
| Tapped into the supply line |
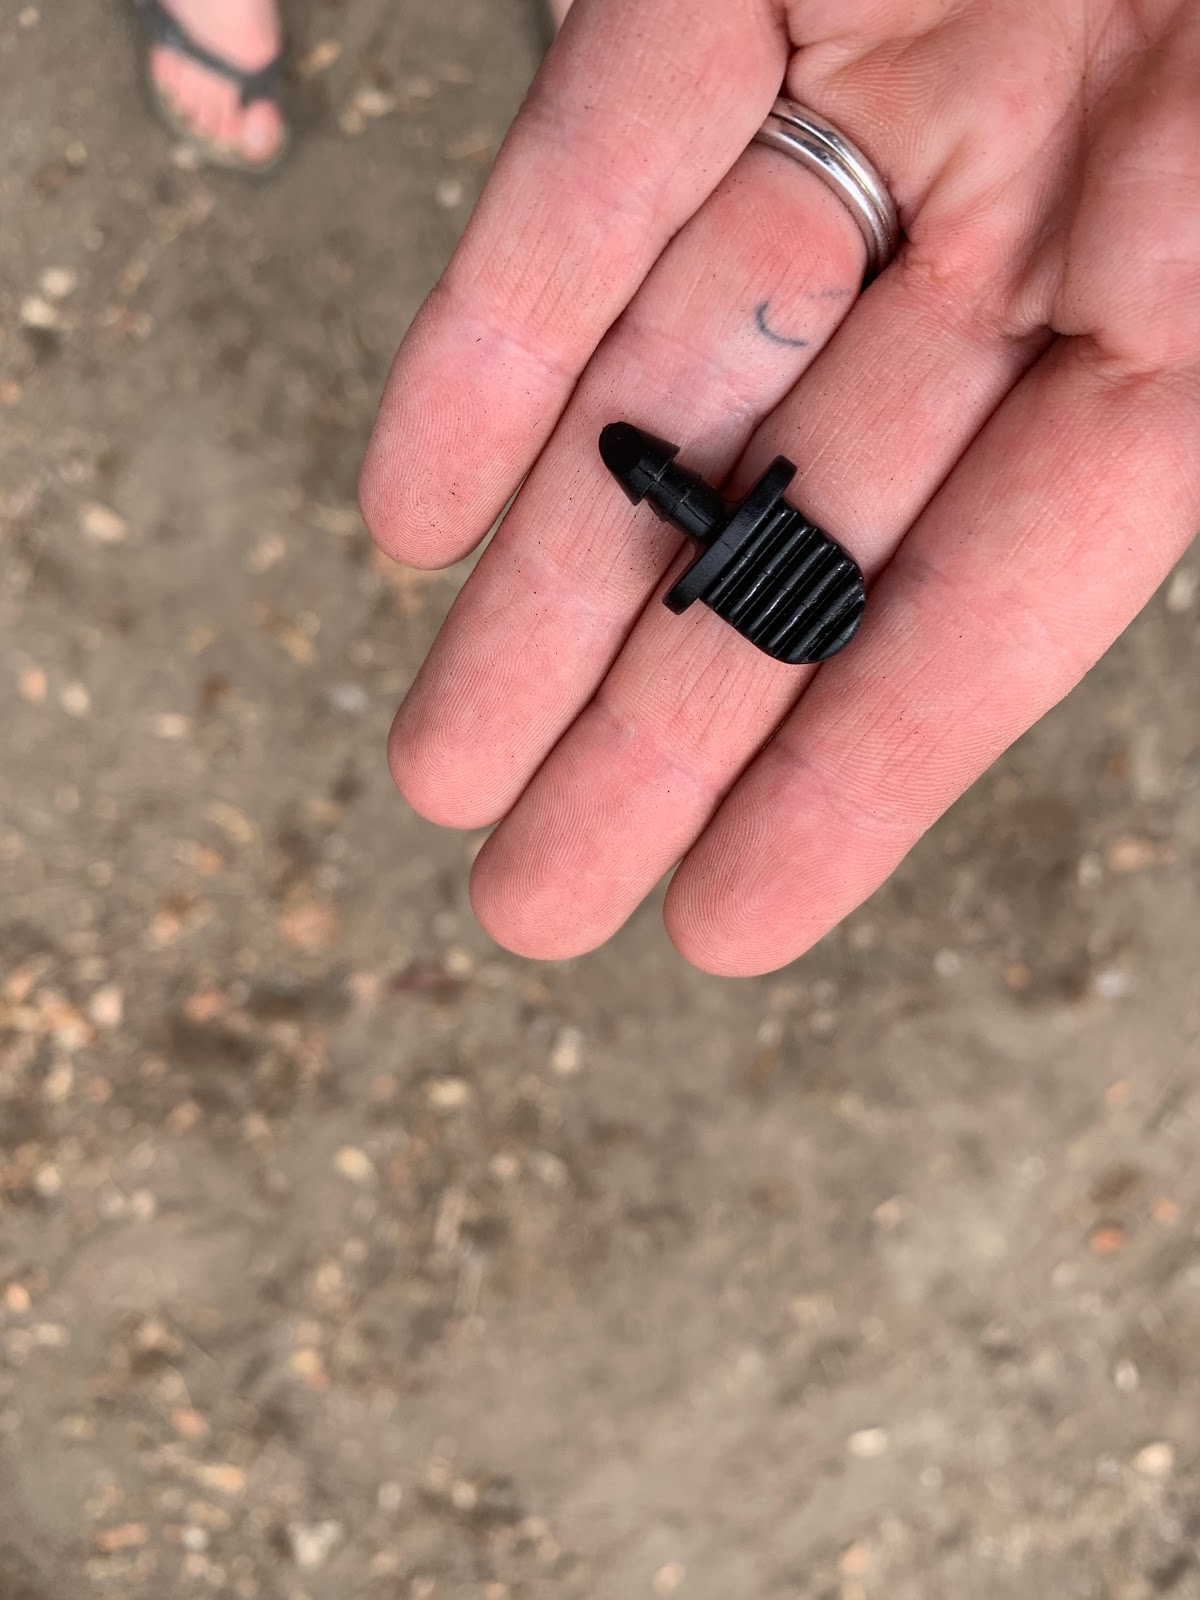
 |
| Barbed coupler |
 |
| All ready to go, or so I thought |
 |
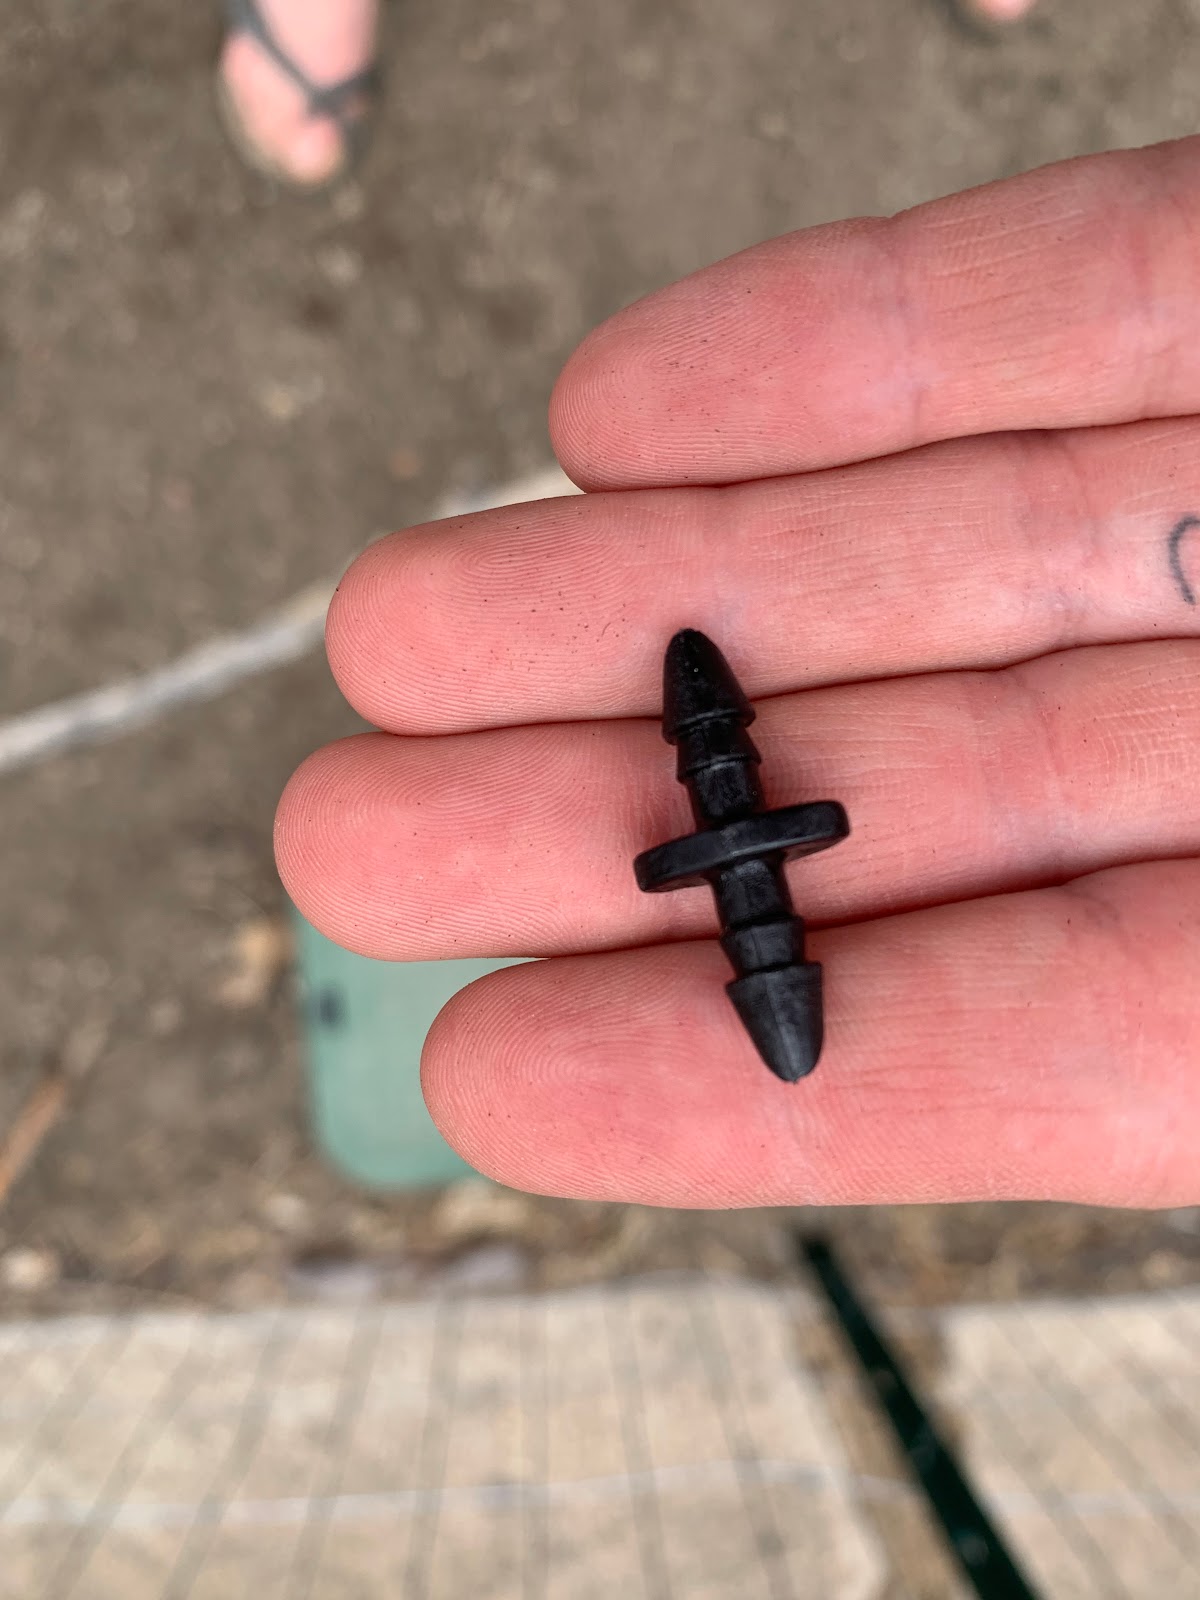
| Barbed plug |
 |
| The end of the drip tubing, all plugged up |
I plan to use the two types of tubing this summer and see which one I like better, and maybe there will be a follow up blog on the results of my adventure in going drip. I will add more pictures of the soaker tubing as well.
I hope if you are considering changing up your irrigation
plan, this can help you have less error. Things take some figuring out, but in
the end with some patience, and help from your local Extension office, you can
get to irrigation paradise too!
Great article. As for me, I am old school and retired so I hand water my little garden as needed. Simple works best for me. Dennis Lyon
ReplyDeleteI gave up on the drip tubing because the distance between drip ports was incapable of keeping my seedlings watered well enough. Also, the pressure at the end of the lines - both soaker and drip - will be lower and plants at the end of the line may not get enough water. It's trickier than I thought setting it up - you have to experiment with your own circumstances.
ReplyDelete