CO-Horts

CO-Horts Blog

Tuesday, April 19, 2022

Old Mulching Technique


Old Mulching Technique
By CSU Horticulture Agent, Linda Langelo


                                  Liquidambar styraciflua 'Volcano'

                                             Photo credit: Anonymous

You might ask yourself, "Is the author for real?" This is not a cultivated variety. Unfortunately, the technique of volcano mulch practice is still alive and well. This practice was considered the best practice during my parent's lifetimes in the 1940's. As Maya Angelou has said, "When we know better, we do better." Hopefully.

Liquidambar styraciflua is commonly called Sweetgum. It grows in zones 5-9 on wet river bottoms, swamps that frequently flood and sometimes on drier uplands. According to the Colorado Tree Coalition there is a sweetgum that is The Colorado State Champion Sweetgum (DBH 17"/Height 57') in Fort Collins. Sweetgum can grow to be 80-120 feet tall and 4 feet wide. But this depends on many environmental factors such as growing it in a moist soil with no high winds, hail damage or temperature extremes from 75 degrees Fahrenheit to -5 within in a few hours. It is a medium to fast grower. In aklaline soils iron chlorosis is a problem along with webworms, scale, bleeding necrosis and leaf spots.

As a tree hugger, seeing the volcano style mulch I should have titlted this blog article, How to Kill a Tree in Two Years or Less. I might add the person who sent this to me is not a tree hugger but sensed that this was not the right thing to do. Knowing that we already have Sweetgum as a Champion Tree why not give Sweetgum Trees everywhere the same opportunity? Or for that matter any tree the opportunity to become a Champion Tree or just to be an old tree?

Here is what can happen when trees are mulched this deeply:

1)the foliage starts to yellow or become off-color

2)there are abnormally small leaves

3)poor twig growth and dieback of limbs

What happens when you bury the root flare? Because the root flare has different tissues than other roots, piling mulch heavily decreases the gas exchange stressing the inner bark. These are lenticels which are pores the tree uses for gas exchange. Blocking them or waterlogging them with a barrier of mulch begins to affect the health of the tree. When the inner bark dies, roots become malnourished and weak. It would be no different than planting the tree too deep. 

By having a volcano of mulch around the trunk, this encourages diseases. Bacterial and fungal diseases require moisture. These diseases are opportunistic and mulching like this gives them the conditions they need to survive and prosper. These diseases can stop both the flow and storage of sugars produced in photosynthesis placing the tree in decline. Many borers are known to be attracted to trees in decline.

As if oxygen deprivation and starvation are not enough in over-mulching a tree, excess heat is another issue caused as the mulch decomposes. The high temperatures again affect the inner bark. With young trees if the trunk flare is not hardened off before a hard freeze, this results in damaged tissues.

Lastly, rodents and field voles like cover whether it is tall grass or deep mulch. Add girdling the trunk to the list of possibilities. There is no way of saving the tree when this happens. 

What is the solution? Leave the root flare free of mulch. Mulch 2-3 inches on the edge of the shoulders of the root ball. Here are some links to proper tree planting and mulching: 

https://cmg.extension.colostate.edu/Gardennotes/658.pdf

https://static.colostate.edu/client-files/csfs/pdfs/TreePlanting_636.pdf

Share this post. Spread the word. Help stop volcano mulching forever!


Monday, April 18, 2022

Going Drip

By Sherie Shaffer, Horticulture Agent, CSU Extension-Pueblo County

I love growing a vegetable garden. Ever since I can remember I have grown some type of veggie garden every year. I also have hand watered ever since I can remember.

Hand watering has its perks. Being out in the garden every day, up close and personal with your plants allows you to see any problems that may arise and be on top of anything that is ready to harvest right away. The issue, for me, with hand watering, is that I just don’t have the time. For the last couple of years, I have let my garden dry out too much and have had small harvests because of it.

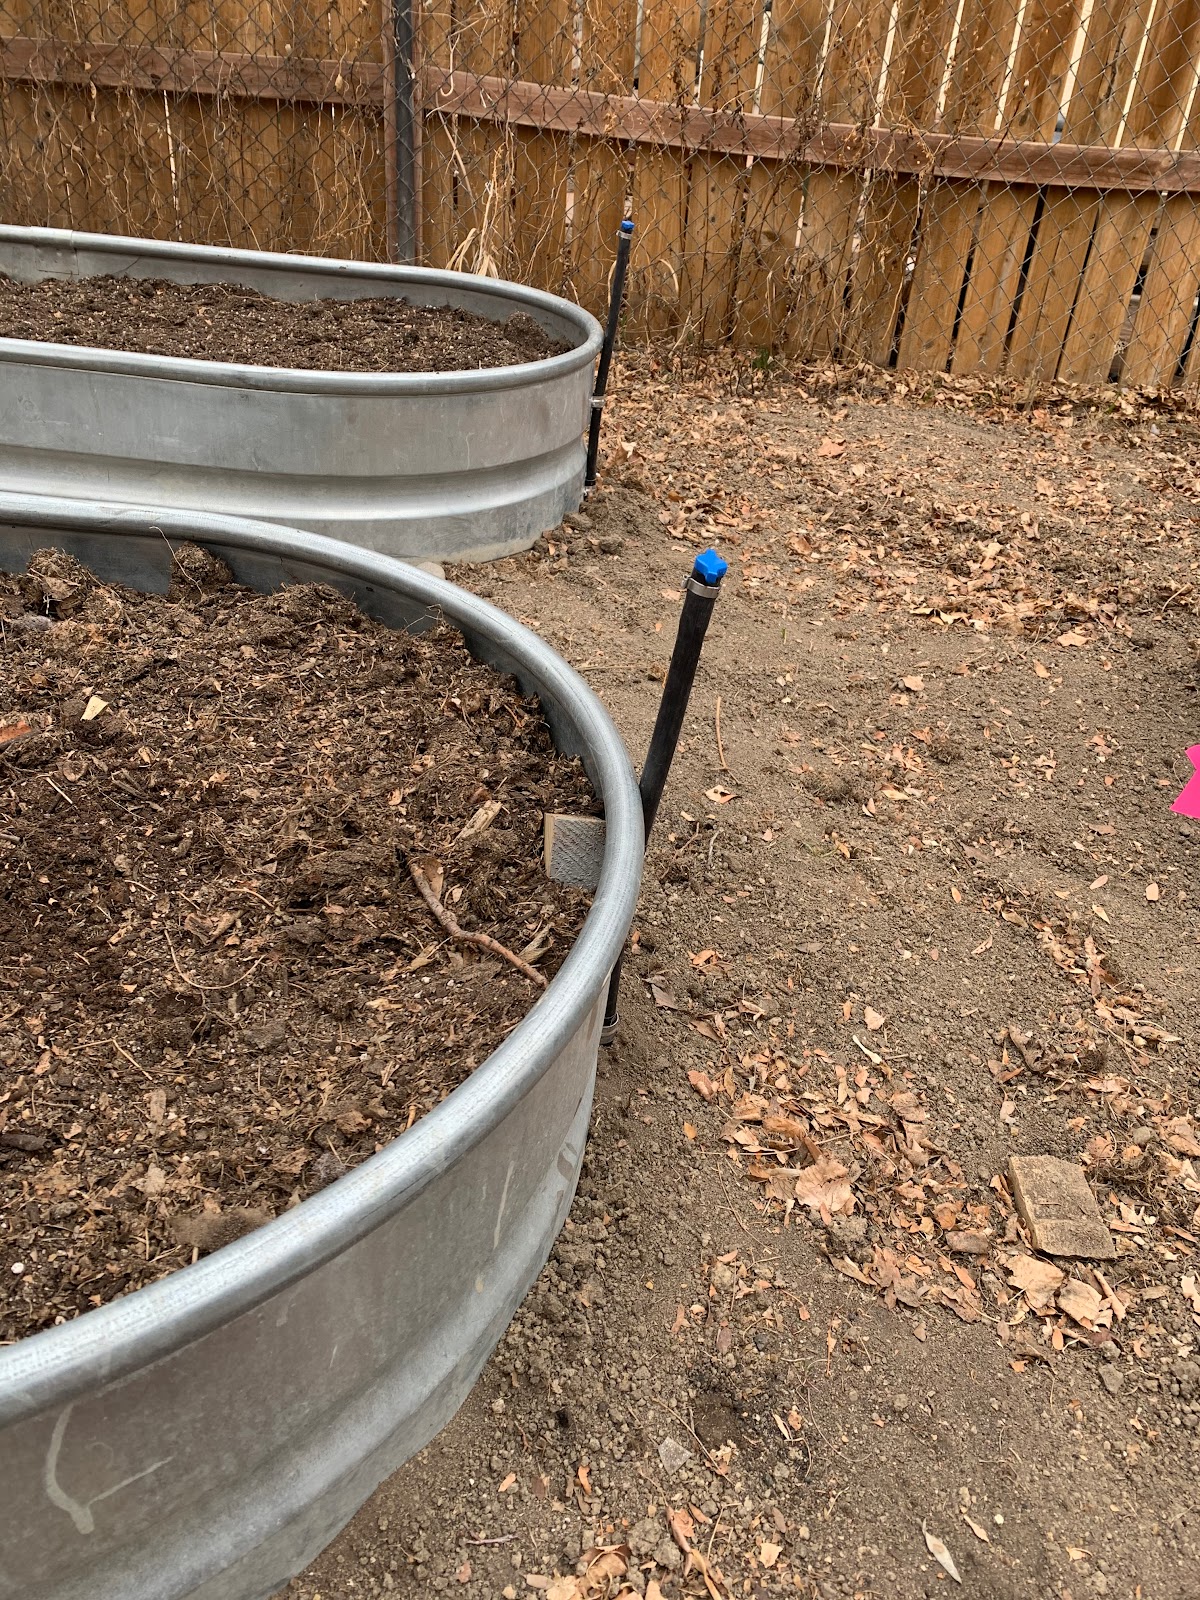
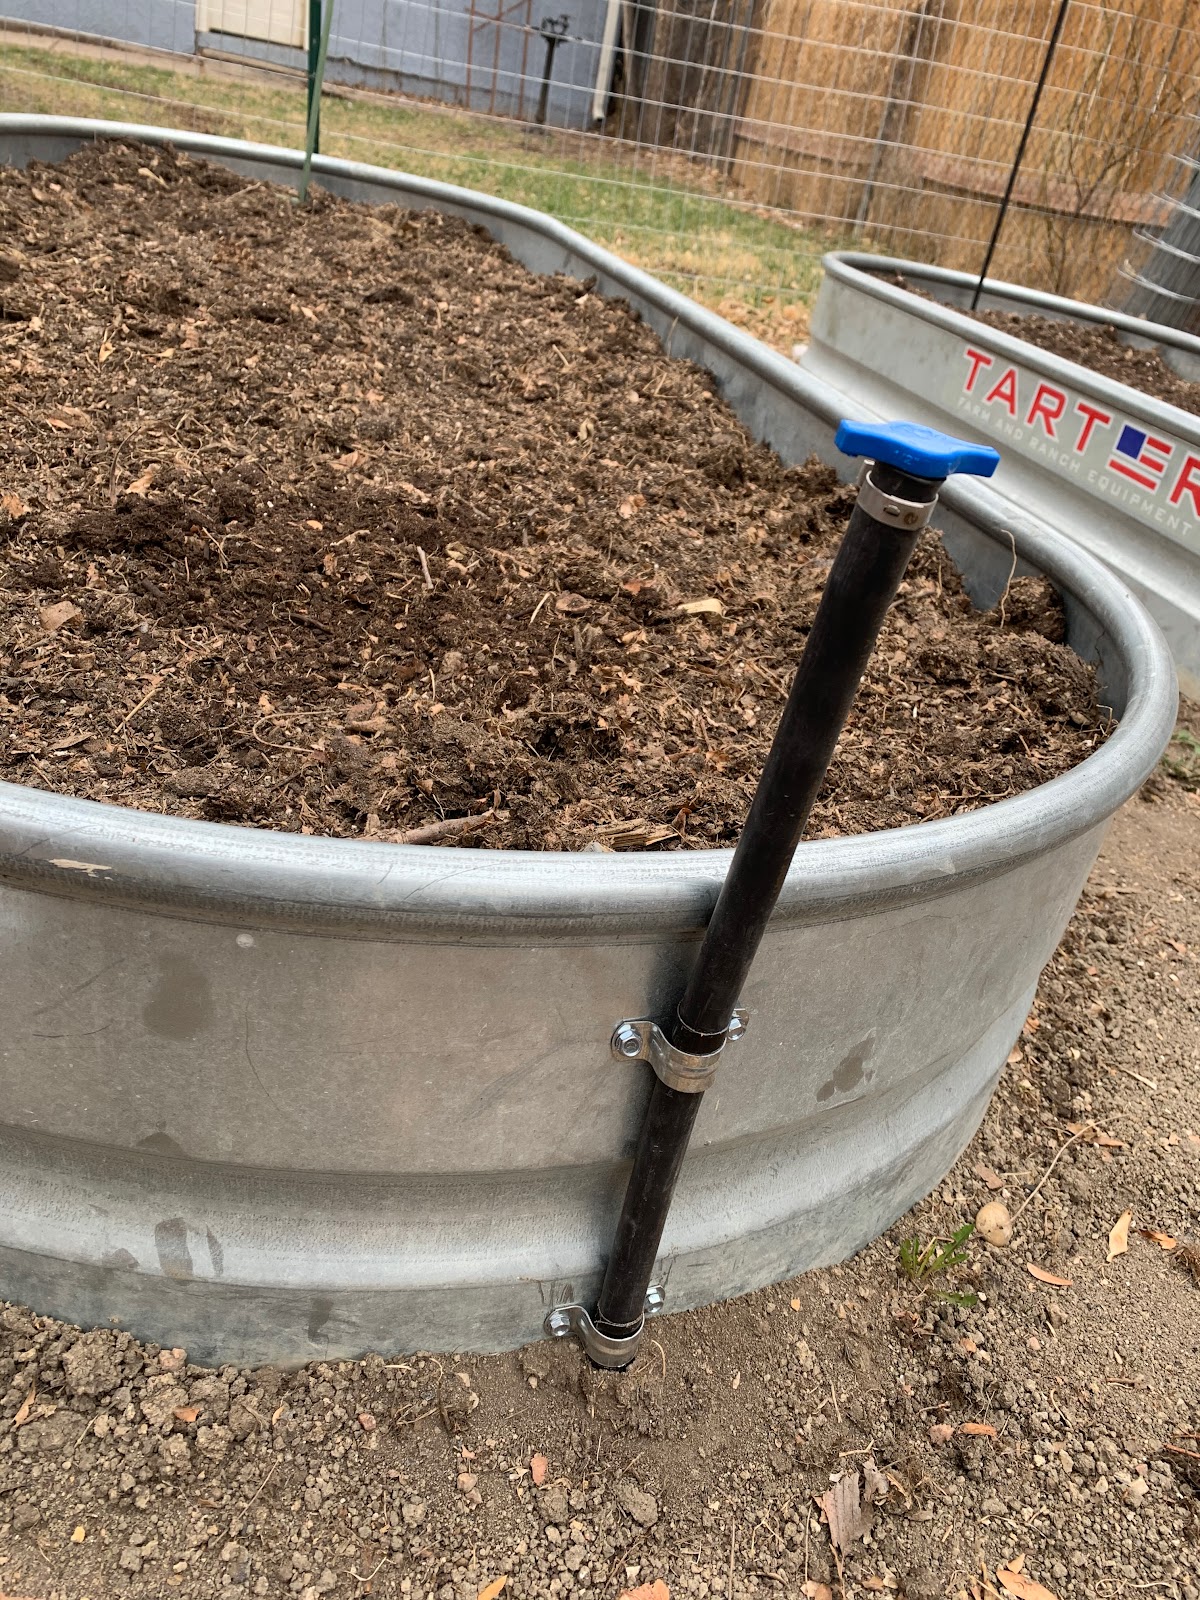
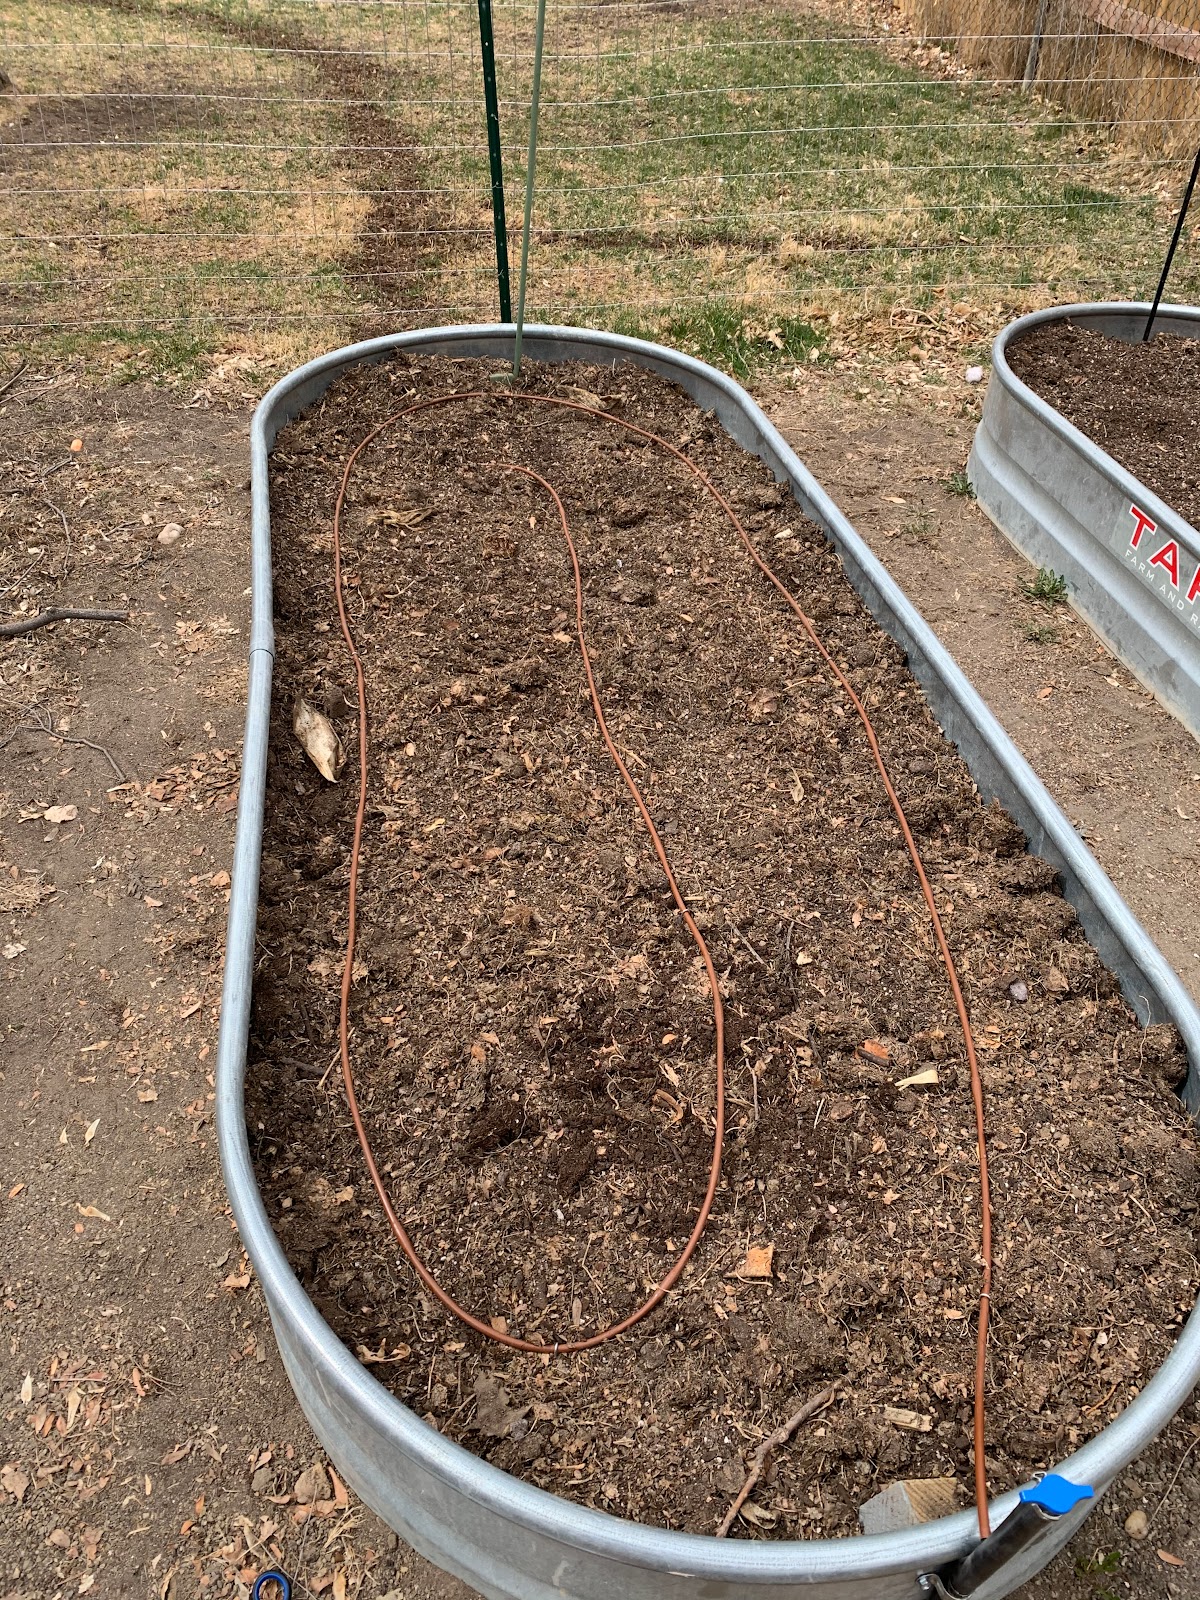
My beds with the supply lines

That’s why this year, we are going drip. Drip irrigation has many benefits. The main one for me, is that I can turn it on and water the garden without spending the time filling up my watering can and watering by hand. I bought a fancy timer that I can work from my phone, so I can even turn on my drip system from the office, or my bed, I am so excited. Drip irrigation applies water right to the soil, where the roots are, so it is very efficient. Letting water splash on the leaves of your plants encourages disease, another reason drip is beneficial.


It has been a bit of an adventure getting my system set up. I did a lot of research and had my method down, in theory, but when you get to real life sometimes things don’t always go as planned.

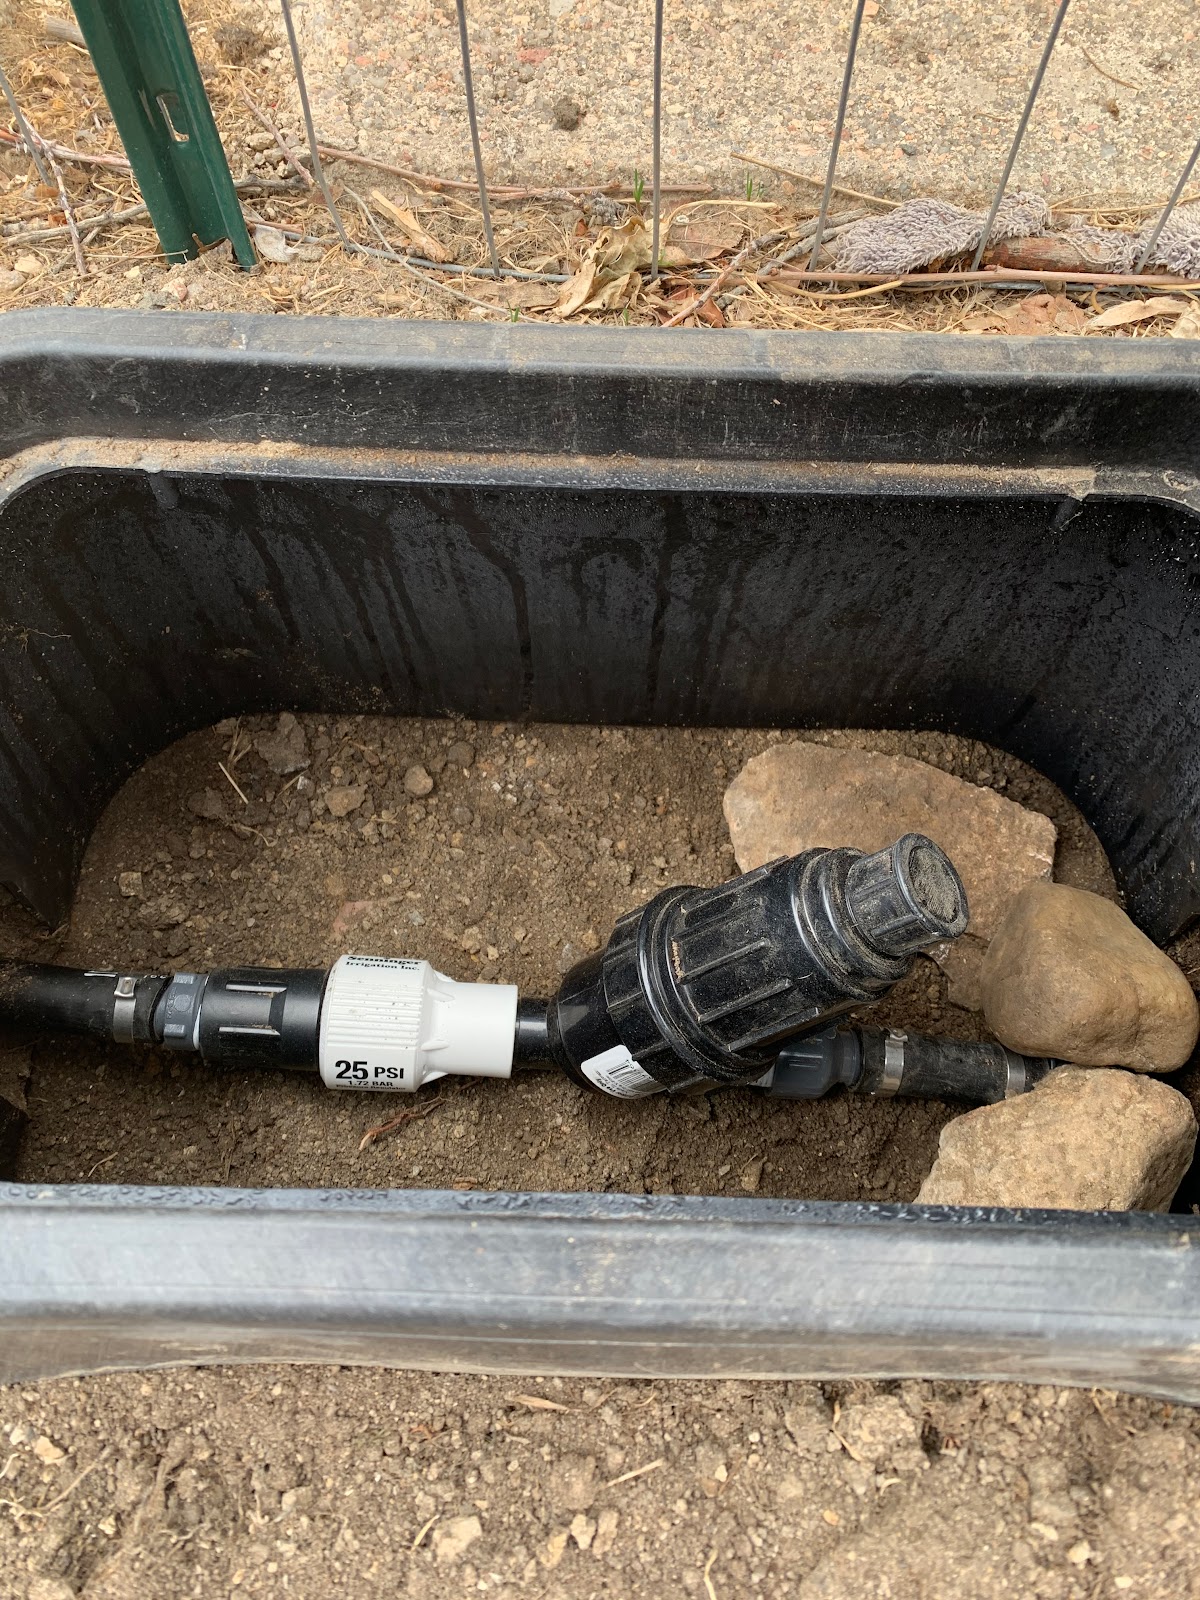
When I had my sprinkler system re-done last year, I designated a couple of zones to use for drip systems. We had the water supply ran to where we wanted it, and installed a filter, and pressure regulator in an underground valve box. From there I had the water supply lines ran to my garden beds.

The valve box with the filter and pressure regulator

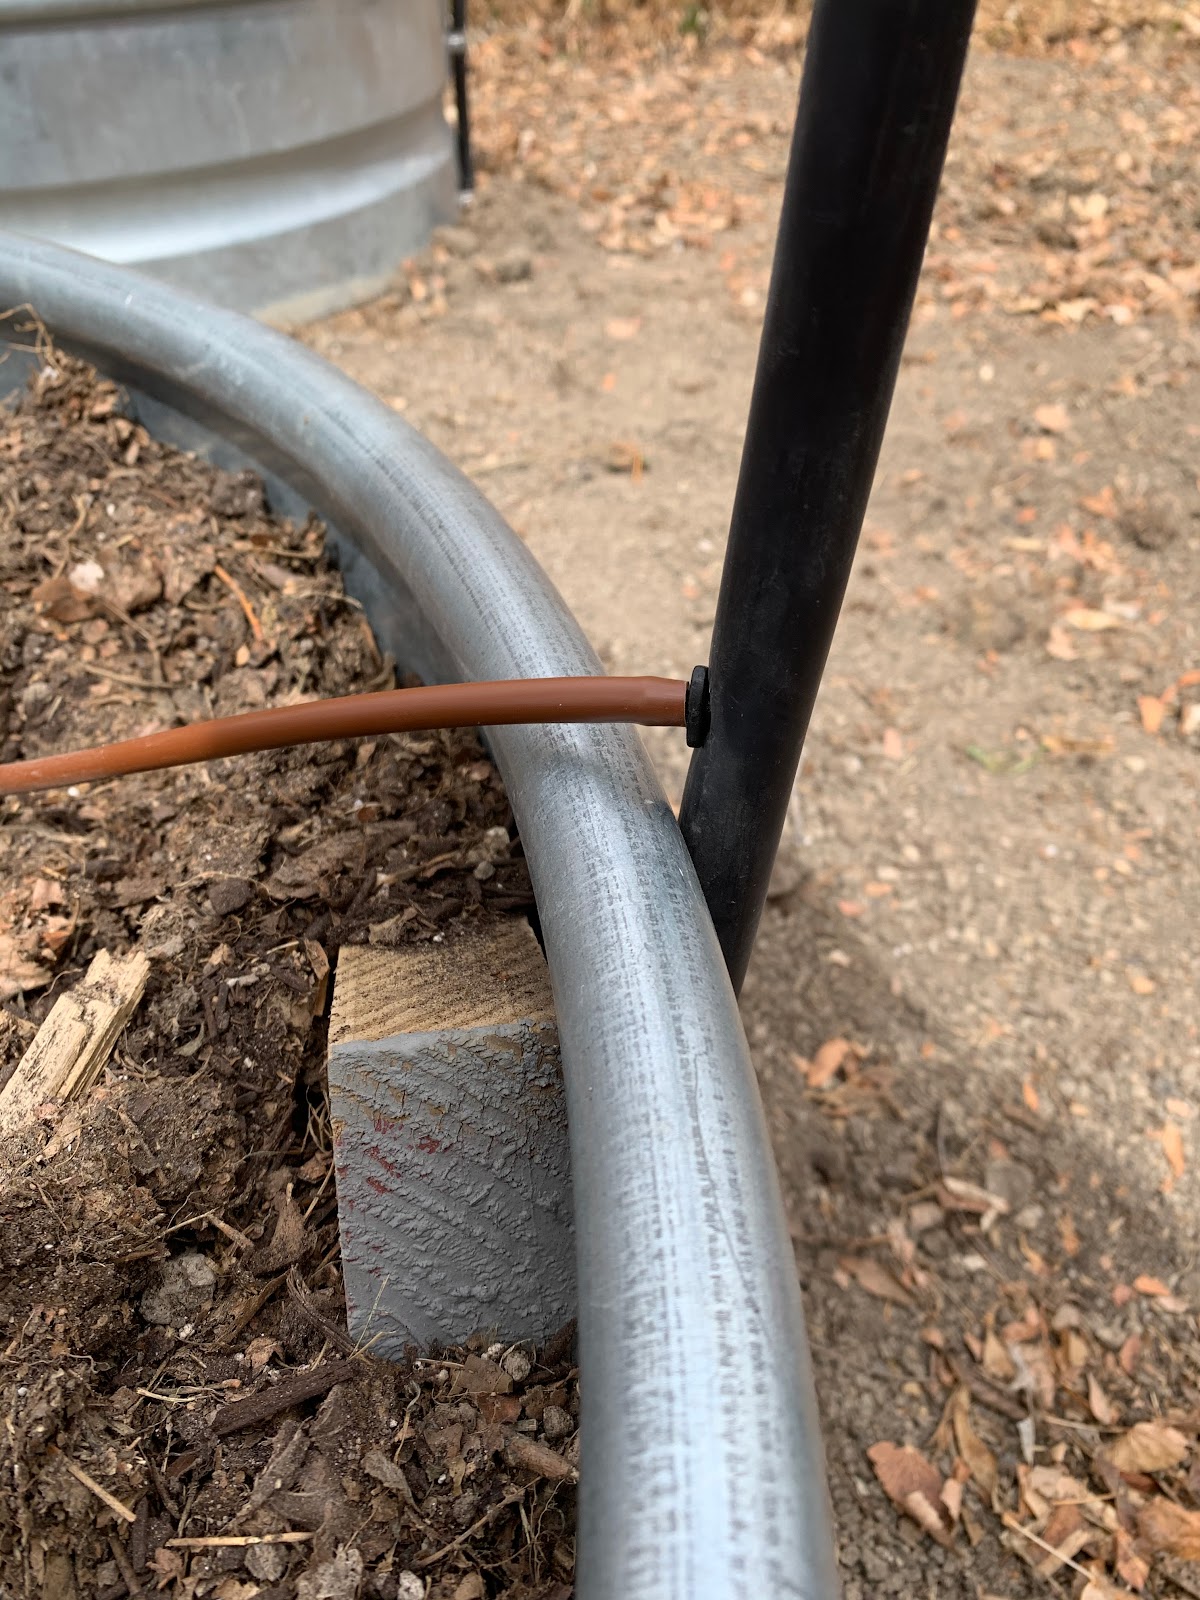
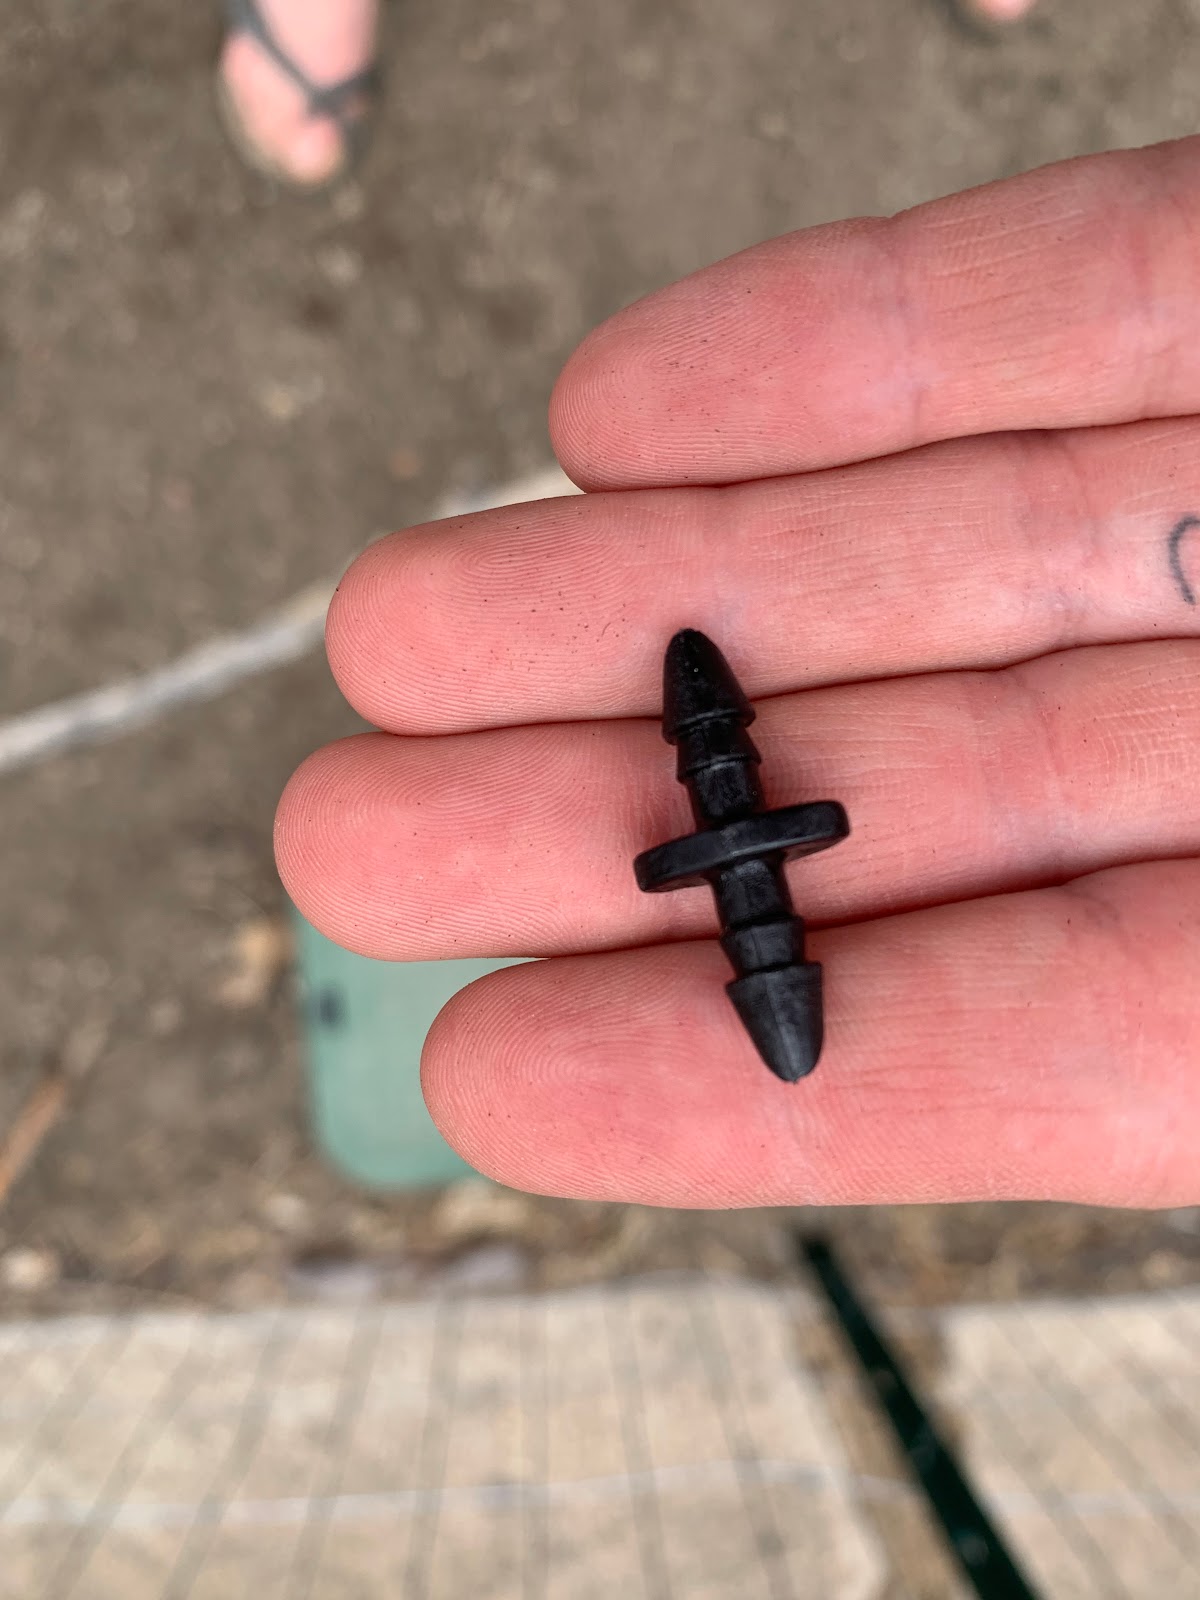
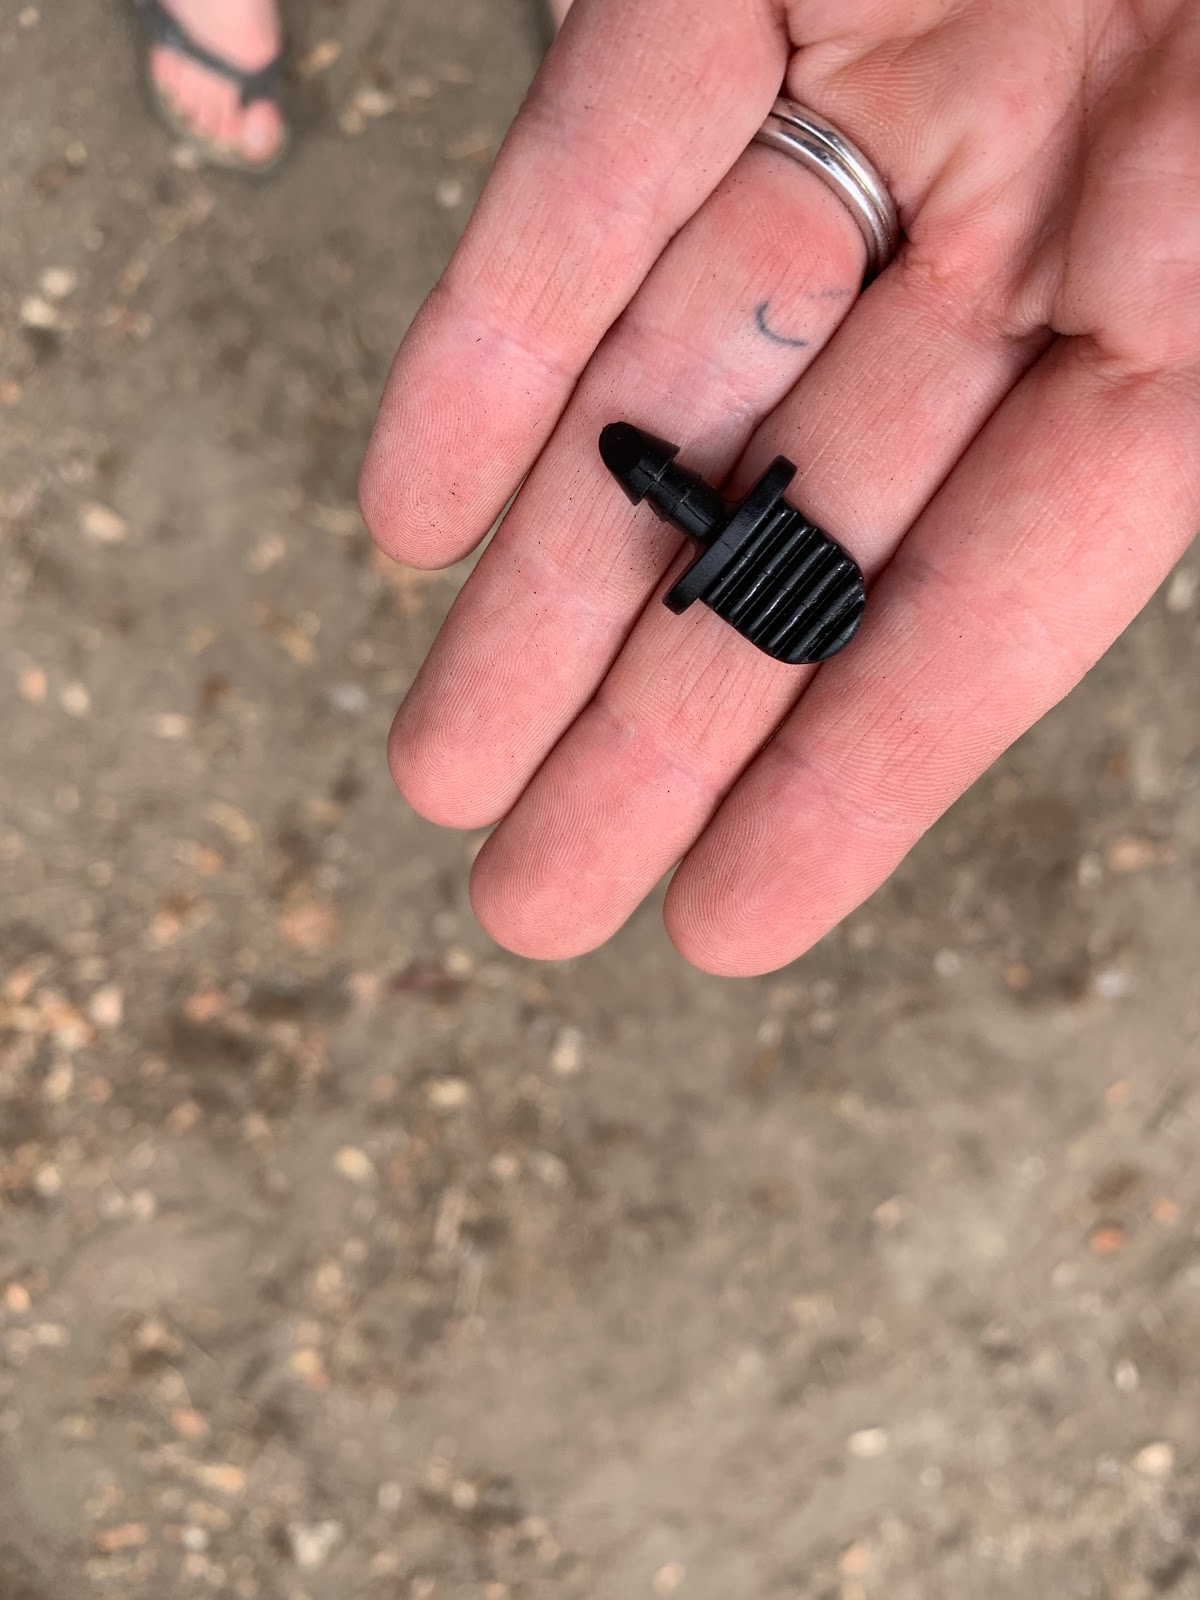
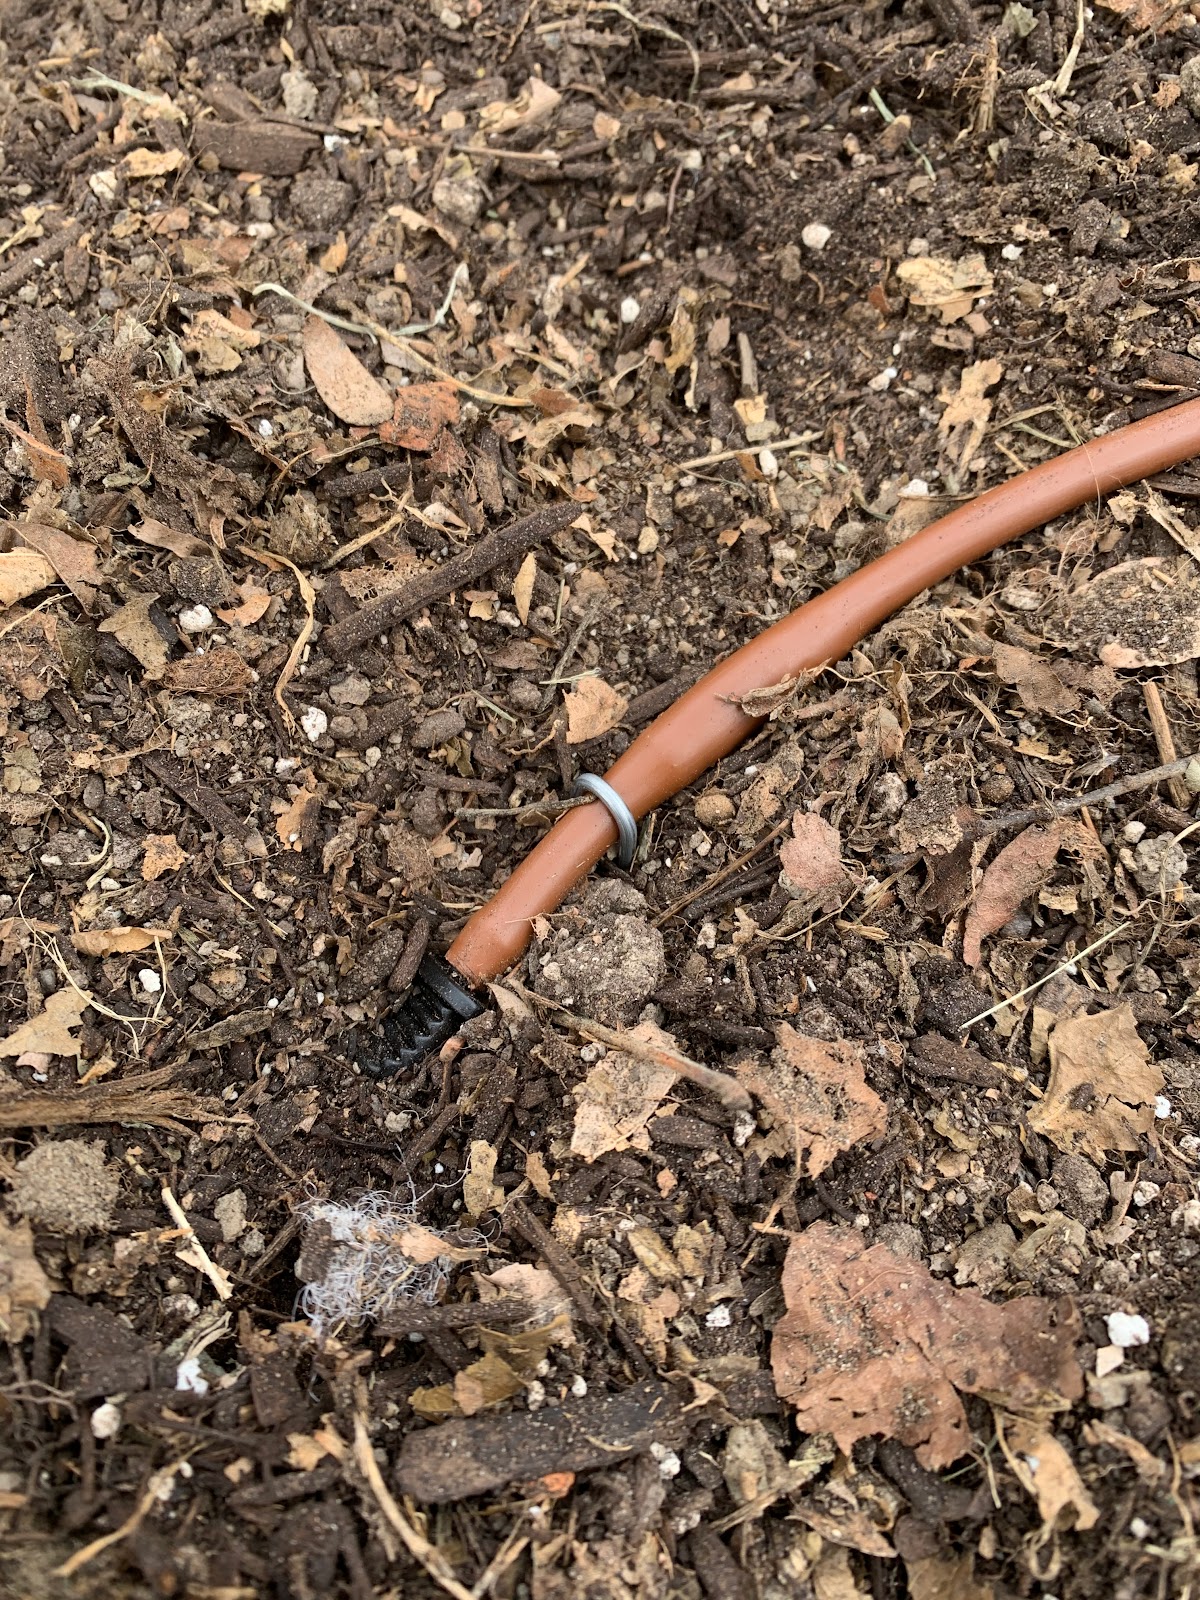
This is where I had some trial and error. At first, I used my quarter inch hole punch to tap into the water supply lines at each bed, and then attached drip tubing (with holes every 6 inches) using a barbed coupler. I looped the tubing around my beds and staked them down. At the end of the tubing, I used a barbed plug to close the system, and excitedly turned it on hoping to see water dripping from the holes. That is not exactly what happened. Water was barely coming out in the first bed and not at all in the second bed, and I was sad ☹

Tapped into the supply line

Barbed coupler

All ready to go, or so I thought

I decided maybe I needed to tap into the water supply line more than once, so I made a couple more holes and ran three lines of drip tubing, instead of looping the one long line. I also decided to change one of the beds to a quarter inch soaker hose type of tubing rather than the drip tubing to see which one I liked better. I held my breath and turned on the system again, and it worked! Water was coming out of the drip tubing on one bed and the soaker tubing on the other.
Barbed plug

The end of the drip tubing, all plugged up


I plan to use the two types of tubing this summer and see which one I like better, and maybe there will be a follow up blog on the results of my adventure in going drip. I will add more pictures of the soaker tubing as well.

I hope if you are considering changing up your irrigation plan, this can help you have less error. Things take some figuring out, but in the end with some patience, and help from your local Extension office, you can get to irrigation paradise too!

Friday, April 15, 2022

The Magical South (and Scenes from a Cemetery!)

 Posted by: Alison O'Connor, Larimer County Extension

Earlier this month, I spent the best weekend with my mom in South Carolina and Georgia. It was a trip for the ages, because we attended the Augusta National Women's Amateur golf tournament at Augusta National (more on that!), but we also crammed in a lot of other things to fully experience the south in spring.

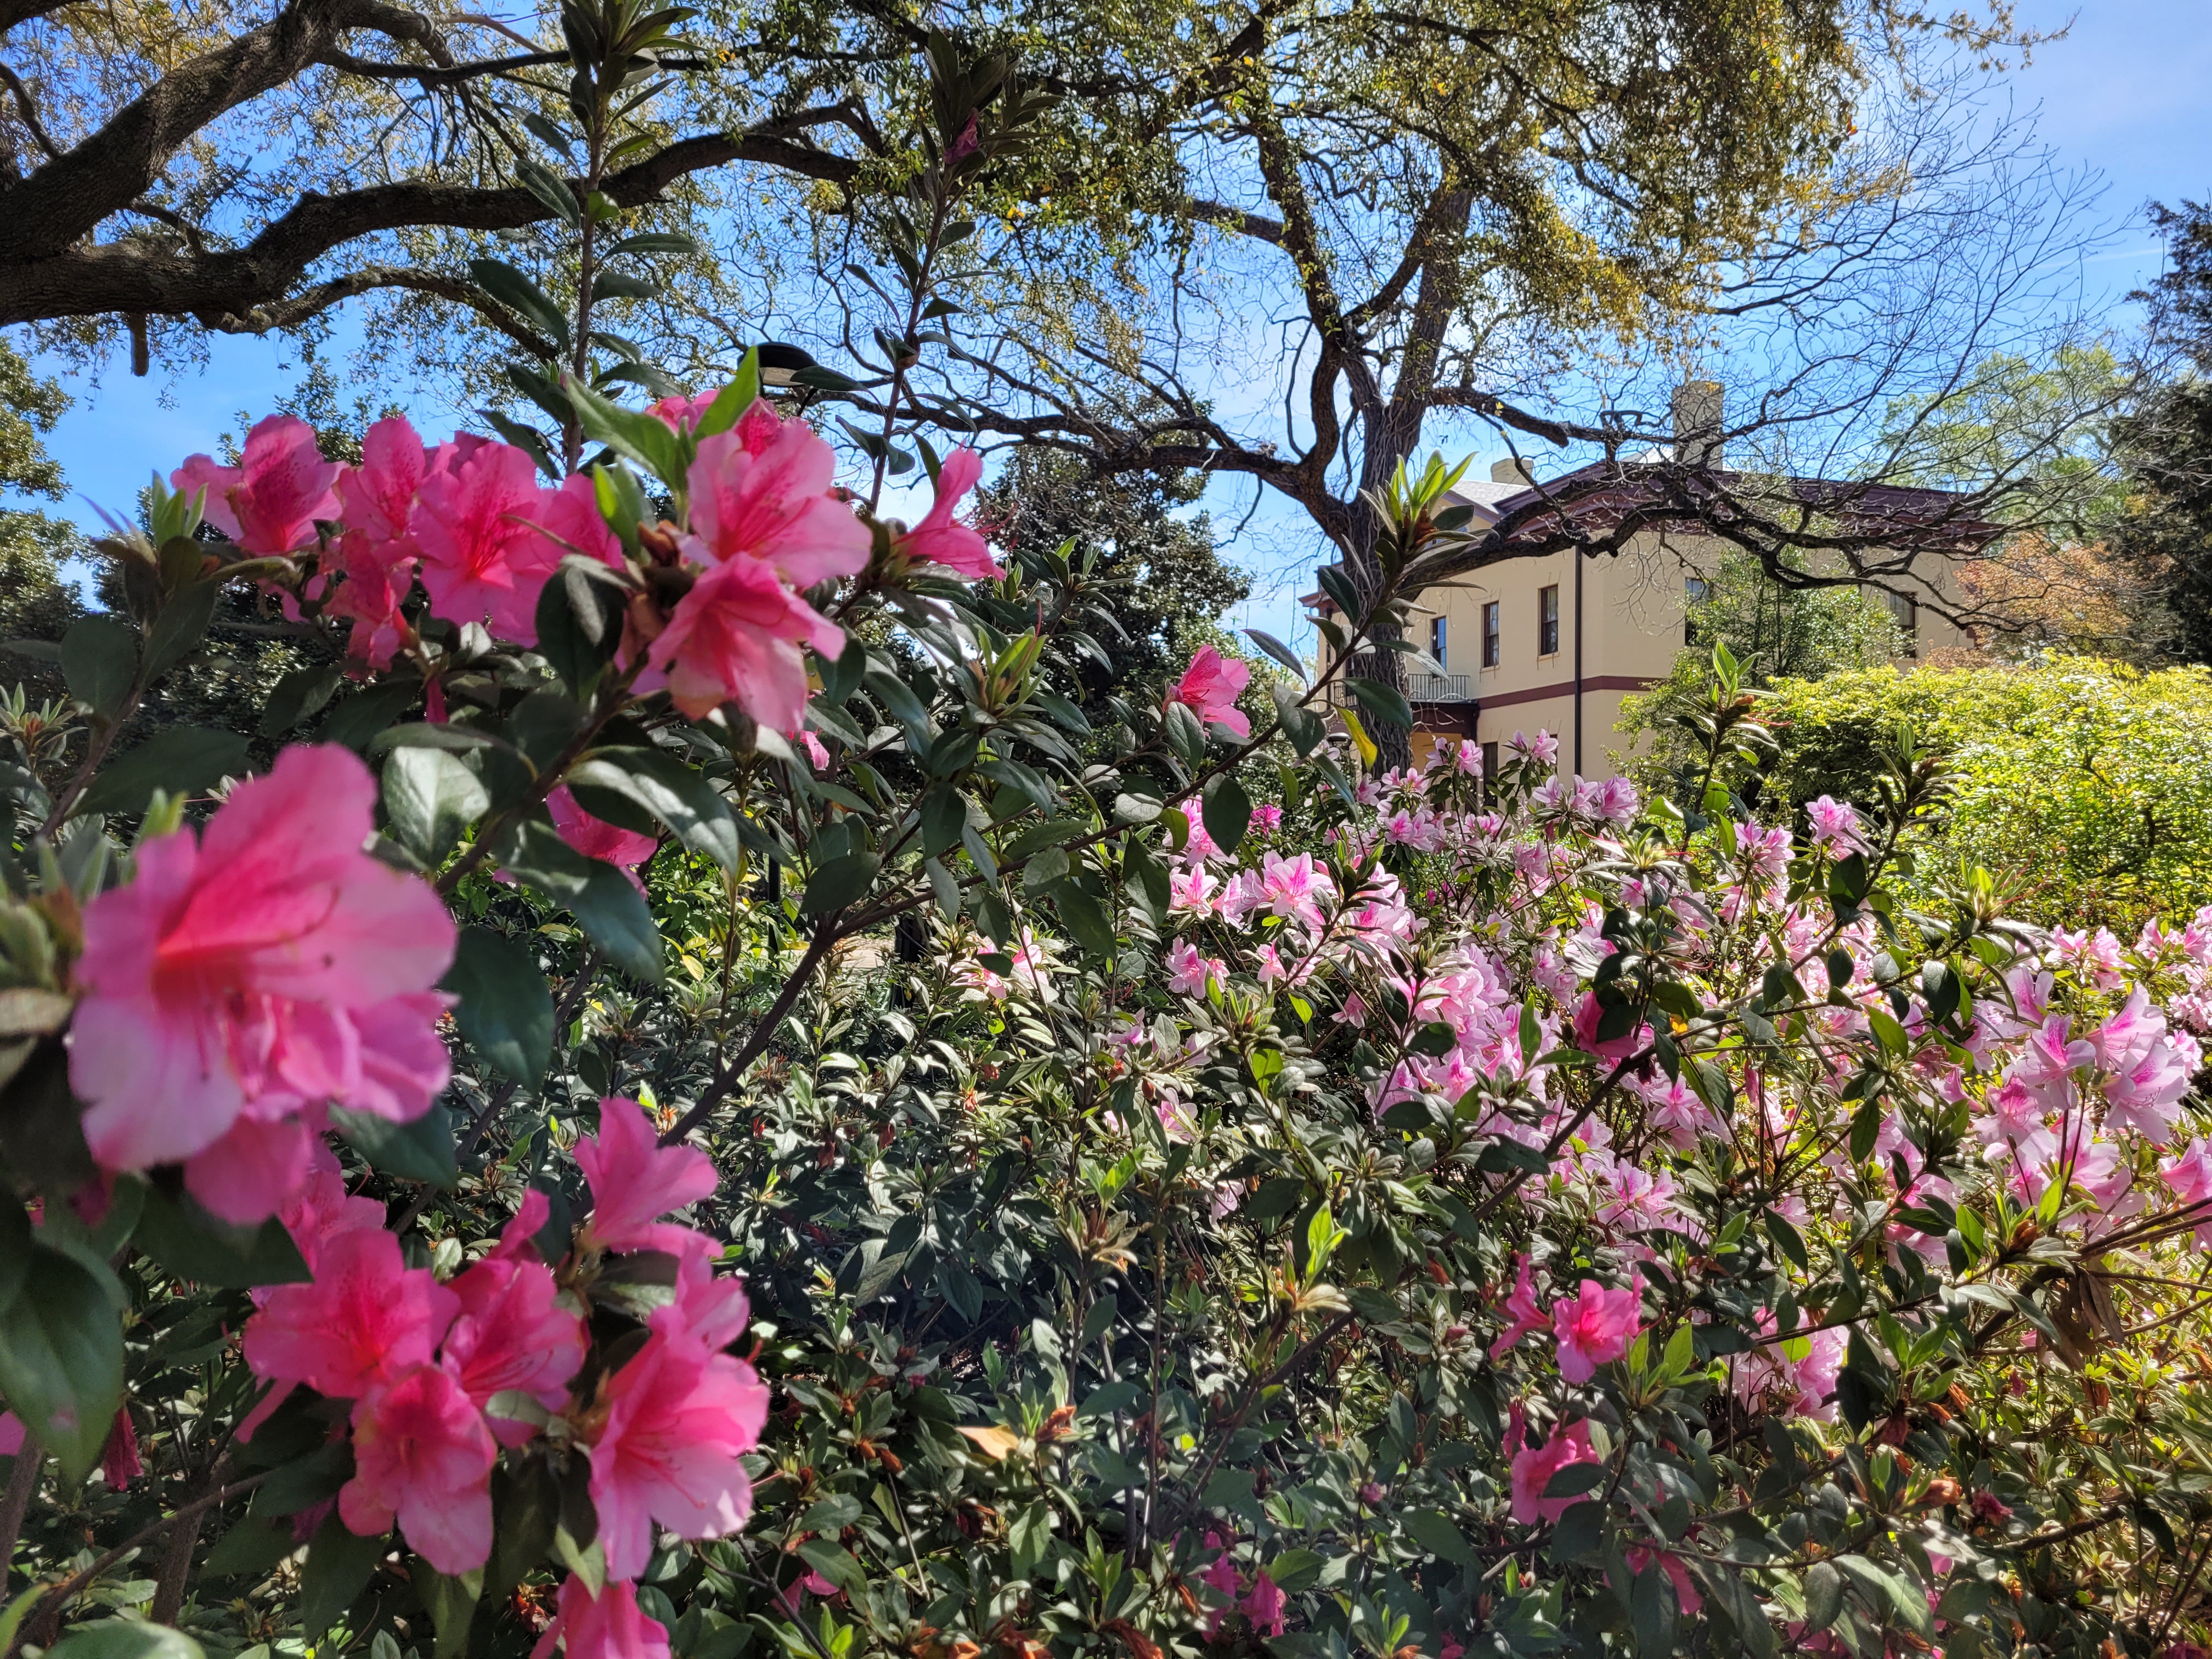
Azaleas in full bloom in Columbia, SC.

Fortunately for me, my mom loves cemeteries as much as I do and we kicked off our trip by visiting the First Presbyterian Church and Cemetery. The church was organized in 1795 (!) and is the oldest congregation in Columbia. Buried in the cemetery are Woodrow Wilson's parents and a couple of University of South Carolina presidents. Soldiers from the Revolutionary and Civil Wars are among those also buried here.

Aside from the rich history of the cemetery's interred were the amazing plants! Swaths of lilyturf (Liriope), flowering dogwoods (Cornus florida), and majestic live oaks (Quercus virginiana) wove through the cemetery grounds. Other friends included crepe myrtle (Lagerstroemia indica), camellias, and azaleas.

A live oak spanning across many gravesites at the First Presbyterian Cemetery in Columbia, South Carolina. 

For someone who learned their plant materials in the Midwest, it was fun to pull out the cobwebs to try to identify many of these species - plus, having a group of horties accessible via text helps too!

I blogged about the magic of Augusta National a few years ago and had previously visited the course in May after the tournament. But let me tell you - seeing it in April, in its prime, was a near-religious experience. As mom and I drove from Columbia to Augusta, Georgia early Saturday morning, I was emotional just thinking about it. Mom teased me and told me to hold it together. As we walked up the main gates to enter the grounds, I was overcome with emotion and had tears streaming down my face. [Side note: my family took bets on how many times I would cry; the final count was eight!]

The course was impeccable. The perennial ryegrass was like green carpet. The pine straw was neatly manicured, and the grounds were absolutely beautiful. The course was once a nursery, so hundreds of plant species line the fairways. And hilly! If you watch the Masters, don't be fooled. Hole 18 is straight uphill. Mom and I walked the entire course, adding 22,000 steps to our sneakers. It was a dream to watch some of the most talented amateur female golfers in the world and celebrate 16-year-old Anna Davis's win. We also saw Annika Sorenstam, Nancy Lopez, and Dr. Condoleezza Rice (who is a member). 

Phones are prohibited on the grounds during the tournament, so mom and I stood in line for our complementary photo in the front of the clubhouse. Southern hospitality was at its finest, as everyone on the grounds, from patrons, to staff, to the groundkeepers were so incredibly friendly. The city of Augusta loves hosting the Masters and the women's amateur and they are so good at it.


Mom and me at Augusta National in April 2022. We practiced our pose, but mom forgot the leg bend! Phones weren't allowed on the grounds during the tournament, so this is the only photo we have. 

The next day we drove to Charleston, which simply oozed southern charm and history. A walking tour through the city combined aspects of architecture, history, and more great plant life. Boston ferns (Nephrolepis exaltata) and cast iron plant (Aspidistra elatior) were used as filler landscape plants.
 
This porch in Charleston begs for lazy afternoons reading and drinking sweet tea.

It was such a great trip! The weather was perfect, the humidity was low, and it was fantastic to spend quality time with my mom. We both agreed we'd go back in a second if given the opportunity. Two thumbs up!


Thursday, April 7, 2022

April in the vegetable garden

Posted by: Cassey Anderson CSU Extension Horticulture Agent, Adams County. 

April is the month when many gardeners are really getting things going. Perhaps you’ve planted some peas or kale in the vegetable garden already, perhaps you’re just getting things underway. Regardless April is a busy month. You can plant your cool season crops: radish, spinach, lettuce, green onions etc. You can start warm season crops indoors: cucumbers, melons, squash, pumpkins etc.


Example of bolting lettuce from
https://ucanr.edu/blogs/blocore/postdetail.
cfm?postnum=14711
Time for Cool Season Crops: 

What is the difference between a warm season crop and a cool season crop? Mostly it’s in the
temperatures they’re willing to tolerate, and those that they will grow well in. Cool season crops can tolerate cold temperatures, and some can even tolerate light freezes (defined as anything between 28 F and 32 F). These crops are also typically done with their season by the time we really warm up in July. Many of these crops have produced their final fruit or bolted, i.e. gone to seed, once daytime temperatures go up into the high 80s or 90s. If you didn't get your fix for cool season crops by the time summer heat hits, you can always replant for a fall harvest. Typically replanting can happen around mid to late July depending on crop maturity dates. 

Photo by Cassey Anderson
One thing that can be a little surprising for many of our cool season crops is that although they like to grow in cool temperatures, they germinate better and more quickly with warm temperatures. You can pre-germinate many of the cool season crops: peas, lettuce, kale, onions etc. Soak a paper towel and put it in a ziplock bag or other sealable container, place the seeds in with it for 12-24 hours at room temperature. You can get them warmer, many crops like to germinate between 70 and 80 F. See this Colorado Master Gardener Garden Note for specific crop temperatures: https://cmg.extension.colostate.edu/Gardennotes/720.pdf.  

You can get your perennial garden going as well: asparagus, rhubarb etc. are good to get started in mid- to late-April.  Perennial crops may take a few years to get their feet under them before harvest, but you can subsequently enjoy even decades of low-effort production. 

Planting Asparagus:

Asparagus can produce for over 15 years in a vegetable garden. You can start from seed but buying crowns will give you some time advantage. Choose a sunny, well-drained area, preferably somewhere not prone to freezes in your yard (not low-lying for example). Amend the soil with a well-rotted compost if needed. Plant crowns deeply in a 6-12” trench, cover lightly and bury as the crowns grow up. Place crowns “head to toe”, root tip to bud tip, typically with the crowns about 12” apart. Water regularly so the crowns do not dry out. Plant seeds about 1” deep, they may take up to 3 weeks to germinate. Mulch well for winter.

Do not harvest for the first 1-3 years (sooner for crowns, longer for seeds), or until you begin to see numerous spears poking up. In the first year you should harvest for about two weeks and let the remaining spears turn into ferns that will feed back into the plant overall. In subsequent years you can harvest for 4-6 weeks, usually into mid-June or early July.


If you have specific questions be sure to reach out to your local county Extension office.

Happy Gardening!

Wednesday, April 6, 2022

Spring Frosts and Fruit Tree Buds


By Amy Lentz, Boulder County CSU Extension

One can grow several different types of fruit trees in Colorado with some performing better than others depending on where and at what elevation you live. Along the Front Range, apples and cherries used to be staple industries prior to the 1950’s. A few rough weather years along with changing market forces moved the industries to other states, but these types of fruit trees along with pears and plums can be quite fruitful (pardon the pun) along the Front Range. Other types of fruit trees will struggle in this region to produce a crop, whereas if you are on the Western Slope, several different types of fruit trees will give you a dependable fruit crop due to the benefit of warmer winds…perfect for growing those coveted peaches.

A lot of the potential to get a decent harvest from a fruit tree in Colorado boils down to phenology. What’s that, you ask? Phenology is a branch of science dealing with the relationship between climate and periodic biological phenomena (definition from Merriam-Webster) such as bird migrations and, in this case, flowering patterns of plants. In more simple terms, this is often referred to as bloom stage or growth stage. Fruit trees will go through various bloom stages as they wake up each spring. For example, apple trees have nine stages of blooms from dormant to fruit set as seen in this pictorial chart from Cornell University:

Apple Phenology Chart - Cornell University

Back to why it’s not easy to have a productive fruit tree in Colorado…springtime frosts! It’s safe to say that you never know when that last spring frost will come in Colorado. And when it does, how low will it go? This is the key to whether or not you will get a decent fruit crop from year to year – it’s the combination of the low temperatures experienced in the spring and the stage of bloom at that time. For example, if your leaves and/or flowers are just starting to emerge (at the ‘green tip’ stage of development), your tree’s flower buds can take some pretty low temperatures and can easily survive a light frost. However, if you tree is in full bloom, you will lose many of those flowers if the temperatures dip a just a few degrees below freezing. The following chart shows the various bloom stages for tart and sweet cherry and peaches:

% Bloom Loss vs. Temperature vs. Bloom Stage - Utah State University

Notice for tart cherries that even at temperatures down to 15° F, only 10% of the blooms will be damaged or killed if they are just swollen and have not broken through yet. Conversely, with that same tree in full bloom, you will see around 90% of the blooms (and future fruit) damaged or killed if the temperature gets down to just 25° F. The relationship is similar for peaches and other fruit trees, as well. Simply put, the further along in bloom, the more susceptible the buds are to being killed by a spring frost.

Undamaged peach flower bud compared to damaged bud after exposure to very low temperatures (-15°F). Photos: Amy Lentz

Throw in crazy Colorado weather and it’s a fool’s bet! The timing of these stages will vary from year to year, making it hard to predict when your tree will be in full bloom. The following photos were taken in the Fort Collins area in 2017 for an apple tree. The dates of each stage of flower are marked above each picture taken of the same branch over time. Just one year later in 2018, the same tree was more than two weeks later in its timing for each bloom stage.


Pink Stage occurred on April 12, 2017. In 2018, the same stage occurred about 16 days later, showing up on April 28th. Photos: Amy Lentz

There are not many options to outsmart Mother Nature and prevent your fruit tree from receiving some damage during a spring frost and some trees will fare better than others. Apricots are usually the first to bloom, followed by peaches, cherries, plums, pears and apples will usually be last. Here is one tip if you haven’t yet planted your tree…place it on the north or northeast side of a structure or house; close enough that it’s shaded in the winter and far enough that it’s in full sun later in the summer when the sun is higher in the sky. This can provide more consistent winter temperatures, hopefully keeping the tree dormant for just a bit longer and delaying flower development. Even a week of two can make all the difference!


Thursday, March 17, 2022

When Dryish Eyes are Smiling


Posted by: John Murgel, Horticulture and Natural Resources Agent, Douglas County


Looking for some green in your life, but concerned about landscape water use?  Then let me tell you about extremely dry gardens.  Gardens without supplemental water.

 If you’re shuddering now, I don’t blame you.  You’ve probably seen xeriscapes that hardly inspire enthusiasm.  But whether you’re interested in dry gardens for sustainability, economics, aesthetics, or because (like me) you’re just tired of dealing with the sprinkler system, I have some solutions and suggestions that go beyond rocks, a steer skull, and a wagon wheel.

 To succeed with a dry garden, understanding how plants cope with drought is a great way to begin.  Annuals take advantage of favorable conditions to sprout and flower quickly, set copious seed, and then perish as conditions get drier.  Their seeds will rest until conditions are right again.  Bulbs use a similar strategy, but rest as a perennial plant, hidden beneath the soil surface.  Both annuals and bulbs can be extremely showy additions to gardens, filling spaces between perennials—but the display is usually short-lived--maybe a month.  A few annuals will flower for a longer period if conditions remain favorable—California poppies (Eschscholzia californica) and Desert Marigold (Baileya multiradiata) are two examples of plants that can flower all summer if conditions don’t get too harsh.  Both grow easily from seed sown outdoors in spring.

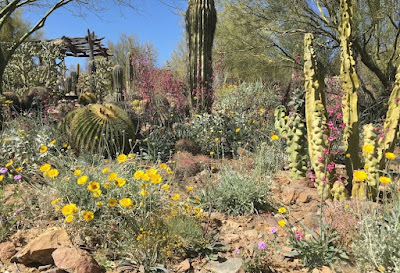
Dry Garden with annuals in Arizona
Desert Marigold (yellow, front) growing happily in Southern Arizona without water.  It can handle Colorado drought, too!


Perennials, shrubs, and trees cope with drought by various methods of tolerance, including morphological adaptations to leaves and roots, by “aestivating,” or going dormant during hot dry periods, and physiological adaptations (like CAM photosynthesis, used by succulents when the growing gets tough).

Choosing plants for your garden should begin with an evaluation of the type of drought you’re dealing with.  A gardener in Castle Rock, for example, will be facing a very different drought than a gardener in Grand Junction or Lamar.  Geography will tell you about your “normal” precipitation patterns.  Then factors like soil (its nature and depth), microclimates, shade, tree roots, wind, and salt will all play in as well.  Once these are known, at least approximately, you can begin choosing plants. 

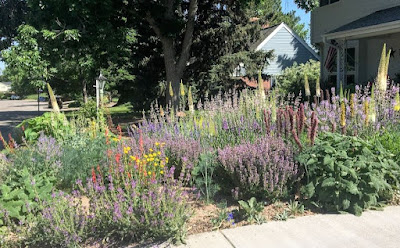
no-water garden with full flowers
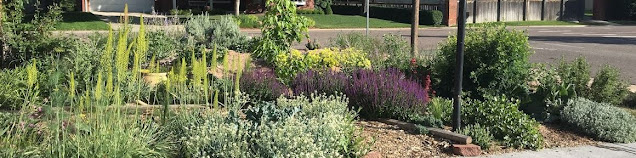
No-water gardens can include native and non-native plants.

In general, the only soil improvement that you should undertake is to reduce compaction by “forking”.  Do everything you can to maintain soil structure--if you're using machinery, don't overdo it!  As a general rule, drought-tolerant plants prefer stony, coarse, well drained soil that is low in organic matter (you know, the stuff that we all like to complain about as "terrible Colorado soil").  Use mineral mulch (like pea gravel or crushed granite) or low berms to ensure that moisture drains away from plant crowns quickly.  Plant perennials in wide, shallow bowls so that they can be watered deeply and infrequently during their establishment year.  After a once a week-ish drink the first summer, you can let the plants fend for themselves.  The bowls can be disguised with the mineral mulch if you don’t want your garden to look too lunar. 

A quick aside—don’t put weed fabric below your mulch, just use deep enough mulch.  4” of gravel will suppress weeds and won’t impede air- and water-flow like weed fabric does.

Perhaps the most counterintuitive principle for starting with plants is to plant small!  Large tender plants straight from the cushy conditions of the nursery will quickly shrivel in the tough conditions of your new drought-tolerant garden.  Start with small plants, or even try planting perennials from seed (check the seed packet for the best planting time).  Plant your plants early to take advantage of spring moisture.  Hardened plants can go out in early April along the Front Range, for example, as long as the soil workable. 

Be patient.  Your plants will grow slowly in their first year, but they’ll reward you each successive season with bigger displays.  Maintenance often includes only cutting back spent flowers (if you like). 

First year xeric garden
This first year xeriscape is small on plants, but be patient


For more information (including design, maintenance, trees, weeds, and fire)—please join the April 1 webinar about no-water gardening! Registration is required, but the webinar will be recorded and posted in the webinars page of this blog.

Third year xeriscape with bigger plants
The same garden in the spring of year 3, having received no watering other than rain for 2 years!

Update: It's true that perennial beds can look shaggy in winter and dry gardens are no exception.  BUT--careful garden design and strategic use of evergreens (including evergreen succulents) can provide season-long interest without looking unkempt.  Just be sure to mow or cut everything back before the bulbs come up!

Yucca plant in winter
The same garden, from a different angle, in winter


Tuesday, March 8, 2022

Snow and Plants

By Yvette Henson, San Miguel Basin Extension

By the end of January, we had close to average snowpack statewide.  This was encouraging after last years (and previous years) droughts!  In February and into this first week in March, we have had quite a bit of snow in my region of the state which I am sure has resulted in above average snowpack for February.   The Colorado Snow Survey & Water Supply News Release for February hasn’t been published at the time I am writing this blog, but when it is released, you can find it here: https://www.nrcs.usda.gov/wps/portal/nrcs/main/co/snow/waterproducts/supply/

Update March 9th-- imagine my surprise to learn when the report come out yesterday afternoon, that even though we received more than 4' of new snow the last week in February at my 8,400' elevation in SW CO, we are still only 95% of average snow pack for 2022.

snow covered landscape

Snow can be like an insulating blanket over plants to protect them from frigid temperatures and desiccating wind.
  Temperatures at ground level under snow can be degrees higher (even above freezing) and fluctuate less than air temperatures. 

soil temperature is lower under snow cover,  protecting the developing crowns on these native goldenrod Solidago sp.

Light can penetrate the snow cover.  It is interesting that light can only penetrates to a depth of 12-20” through snow in the fall but to a depth of more than 6’ in the late winter and spring!  The angle of the sun, the daylength, as well as properties of the snow affect the timing, the amount and the quality of the light that reaches plants under the snow.   In the late winter, the light penetration through the snow triggers some seeds to germinate and some species to develop buds in their crowns in preparation for spring regrowth.  A classic example of a Colorado native plant that develops leaves and floral structures under snow are avalanche lilies.  As the snow melts in the spring, the flowers bloom.

yellow avalanche lilies (Erythronium grandiflorum) and spring beauties (Claytonia lanceolata)
 
Have you noticed that the plants that have been growing under snow often have a red tint when the snow melts but change to green as the season progresses?  This is due in part to the fact that the red pigments in the plants absorb blue and green light that pass through the snow in winter. 
red foliage on emerging plants, right after snow-melt

We gardeners learn which plants do well under snow cover and which don’t.  We often learn this the hard way.  Not all plants do well with snow cover.  In this case, it is often the wet soil under the snow rather than just the cold that kills these plants during winter.  A general rule is to research the environmental conditions of where a plant is native to.  If it is an area with no snow fall and you typically have snow cover in the winter,  you could site those plants on south facing slopes and/or against structures with south and west exposures where snow melts more quickly.  In a similar way, snow will melt quicker off rock mulch than bark or leaf mulch.  Plants that come from areas that do receive snow can withstand colder temperatures with snow cover than without and don’t mind ‘wet feet’.  


south facing berm and gravel mulch absorb heat and melt snow quicker-- this is a good place for plants that don't overwinter well with snow cover

North facing (same berm) as previous photo has more consistent snow cover-- this is a good place for plants that do well with snow cover.

Snow load can break branches of woody shrubs and trees, especially where it lands after falling off roofs.   If you have this situation in winter, you can plant shrubs that respond well to being cut back to ground level in the spring.  Some examples are elderberries (Sambucus spp.), grown for their foliage, dogwoods (Cornus spp.), grown for their colorful winter branches and butterfly bushes (Buddleja spp.)  It can be done with many multi-stemmed, summer flowering shrubs that form their flower buds on the current season’s growth.  This severe pruning stimulates multiple stems to regrow from the base and may keep your shrubs smaller in stature, depending on their growth rate. 

 I am thankful for the snow this winter.  I can’t wait till spring to see my favorite plants again, after the snow melts.